April is the perfect month to infuse your nails with fun, playful, and colorful designs, as the season signals the arrival of warmth, blooms, and brighter days. Among the spring nail trends, duck nails have captured the imagination of nail enthusiasts, combining whimsy, cuteness, and creativity. This trend is inspired by the cheerful appearance of ducks—bright yellow feathers, tiny beaks, and playful expressions—allowing nail artists to create designs that are both adorable and stylish. Duck nails are especially popular for April because they reflect the lighthearted, joyful energy of spring and lend themselves to pastel shades, soft neutrals, and vibrant accents that align with seasonal aesthetics.
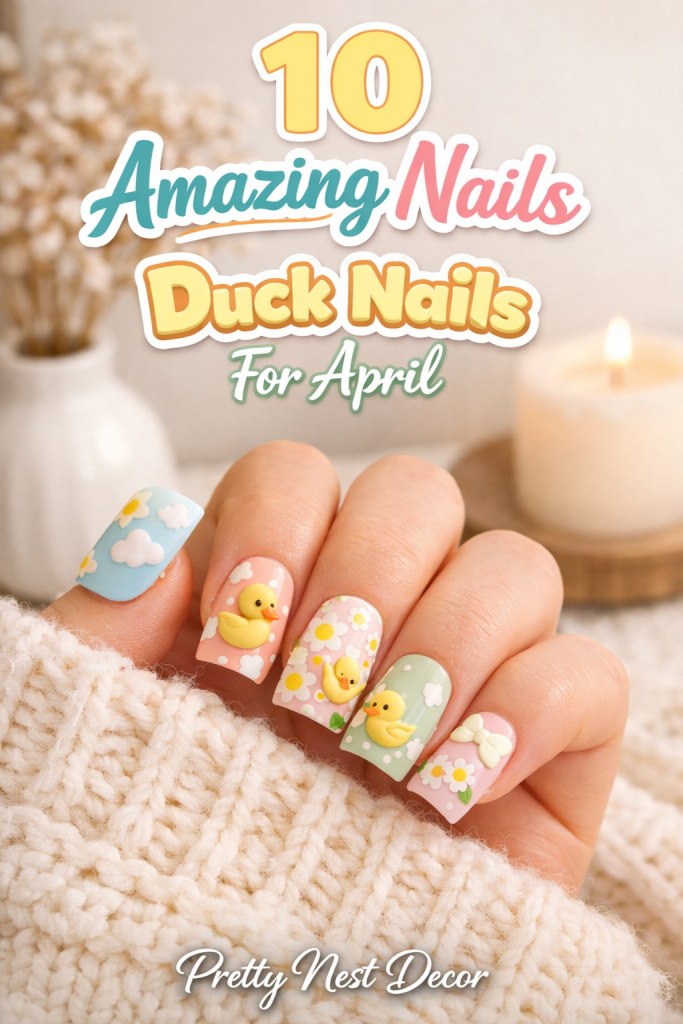
Duck nail designs offer an exciting way to experiment with color, shape, and tiny artwork, transforming ordinary nails into miniature canvases of self-expression. Whether you prefer a subtle accent nail featuring a tiny duck face, a full set of duck motifs, or combined patterns with clouds, flowers, and soft gradients, these designs are versatile and highly creative. The charm of duck nails lies in their balance between playfulness and sophistication, allowing anyone—from beginners to experienced nail artists—to achieve a cute yet polished look. By embracing this trend, you can elevate your manicure into a visually striking statement that is perfect for Pinterest, Instagram, and other social media platforms.
The aesthetic appeal of duck nails is enhanced by the seasonal context of April. With Easter celebrations, spring fashion, and pastel color palettes in full swing, duck nails naturally complement other seasonal elements. Soft yellows, creams, baby blues, mint greens, and lilacs not only evoke the mood of spring but also make the tiny duck motifs pop. Additionally, using subtle accents like glitter, dots, or minimalist patterns can add dimension and texture without overwhelming the design. Duck nails are therefore ideal for women who want a manicure that is fun, trendy, and visually harmonious with the rest of their spring wardrobe and accessories.
Creating duck nails may seem intricate, but the trend is surprisingly approachable. With the right tools, materials, and step-by-step techniques, you can design nails that are both playful and professional-looking. Essential tools include fine detail brushes, dotting tools, nail polish in complementary colors, and top coats for a glossy, long-lasting finish. You can experiment with various nail shapes—rounded, almond, or coffin—while keeping the duck designs proportional and balanced. Weekend DIY sessions or casual nail art gatherings can be the perfect opportunity to practice, experiment, and share your creations online.
The versatility of duck nails also allows for creative combinations with other seasonal motifs. For instance, pairing a tiny duck illustration with soft clouds, raindrops, tulips, or Easter eggs can result in a cohesive spring-themed manicure. Gradient backgrounds, ombre effects, and minimalistic details can enhance the visual appeal and add a modern touch. These combinations make duck nails perfect for Pinterest content because they are highly shareable, visually striking, and adaptable to various personal styles, from soft minimalism to bold and playful statements.
For nail enthusiasts who love a clean and polished look, duck nails also integrate well with minimalist or “clean girl” aesthetics. A simple neutral base with one or two accent nails featuring a duck motif can be subtle yet elegant. Alternatively, full sets with soft pastel colors and playful designs can create a cheerful vibe for spring celebrations or casual weekend outings. This versatility ensures that duck nails can be customized for any occasion, mood, or personal preference.
Moreover, duck nails for April are perfect for social media engagement. Their bright, playful colors and adorable motifs make them ideal for photographing in natural light, styled hand shots, or flat lays with seasonal props. By incorporating flowers, Easter decorations, or cozy spring textures in your photos, you can elevate the presentation and make the designs even more Pinterest-worthy. Well-executed duck nails become more than a personal style statement—they become a form of art that inspires others to try similar designs, increasing shares and saves across platforms.
This article will explore 10 amazing duck nail ideas specifically tailored for April, complete with step-by-step instructions, materials lists, and beginner-friendly tips. Each design idea emphasizes fun, creativity, and aesthetic appeal, ensuring that your manicure is both playful and stylish. From minimalist accent nails to intricate full sets with layered details, these ideas provide options for every skill level. By following these guides, you can confidently create nails that are seasonally appropriate, visually engaging, and perfectly aligned with Pinterest trends.
Whether you are a beginner experimenting with nail art for the first time or an experienced enthusiast looking for fresh inspiration, duck nails for April offer endless possibilities. They are playful, charming, and versatile, allowing you to express creativity while keeping your nails trendy and polished. By embracing this theme, you can celebrate spring in style, showcase your artistic flair, and enjoy a manicure that is both joyful and sophisticated.
🦆 Idea 1: Minimalist Duck Accent Nail
Introduction
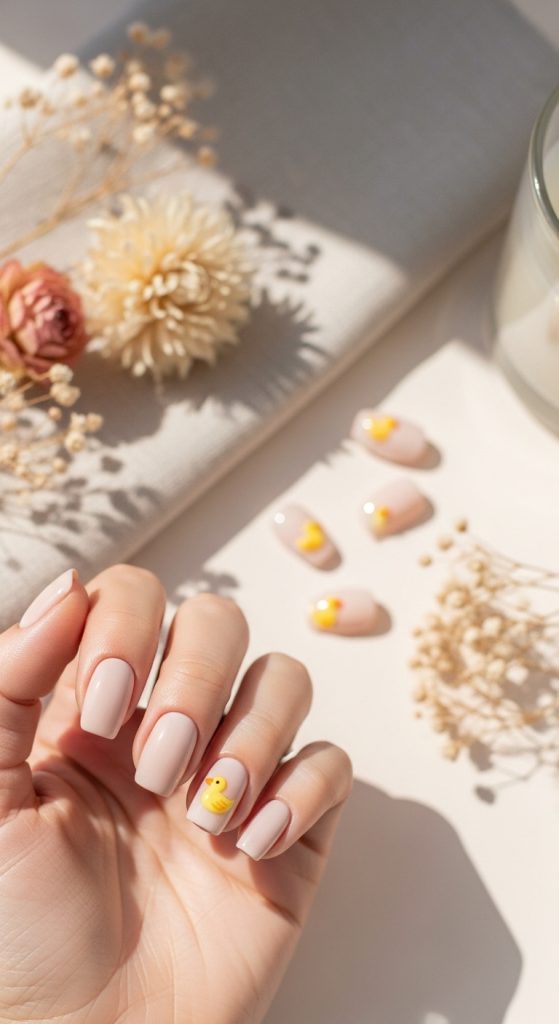
For a subtle yet stylish approach to duck nails, the minimalist duck accent nail is perfect for beginners or anyone who wants to add a touch of spring charm without overwhelming their manicure. This design typically involves painting one or two nails with a small duck motif while keeping the rest neutral or pastel. The contrast between the playful accent and minimalist background creates a polished, modern look suitable for work, casual outings, or Instagram-ready nail photos. Minimalist designs are not only easier to execute but also versatile, making them ideal for April when pastel tones and light motifs dominate seasonal aesthetics.
Materials / Tools Needed
- Base coat and top coat
- Neutral or pastel nail polish (white, cream, soft pink, baby blue)
- Yellow, orange, and black nail polish for the duck
- Fine detail brush or dotting tool
- Nail polish remover and cotton swabs for cleanup
Step-by-Step Guide
- Prep Nails: Clean, trim, and file nails into your desired shape. Apply a base coat for protection.
- Apply Base Color: Paint all nails in a neutral pastel shade, leaving one or two nails blank for the duck accent.
- Duck Design: Use yellow polish to draw a small duck shape on the accent nail. Add an orange beak and black dot for the eye using a fine brush or dotting tool.
- Refine Edges: Clean up any smudges with a cotton swab dipped in nail polish remover.
- Seal the Design: Apply a top coat to protect your artwork and give nails a glossy finish.
This approach balances playfulness and elegance, creating a simple yet adorable duck nail look suitable for everyday wear.
🌸 Idea 2: Pastel Gradient Duck Nails
Introduction
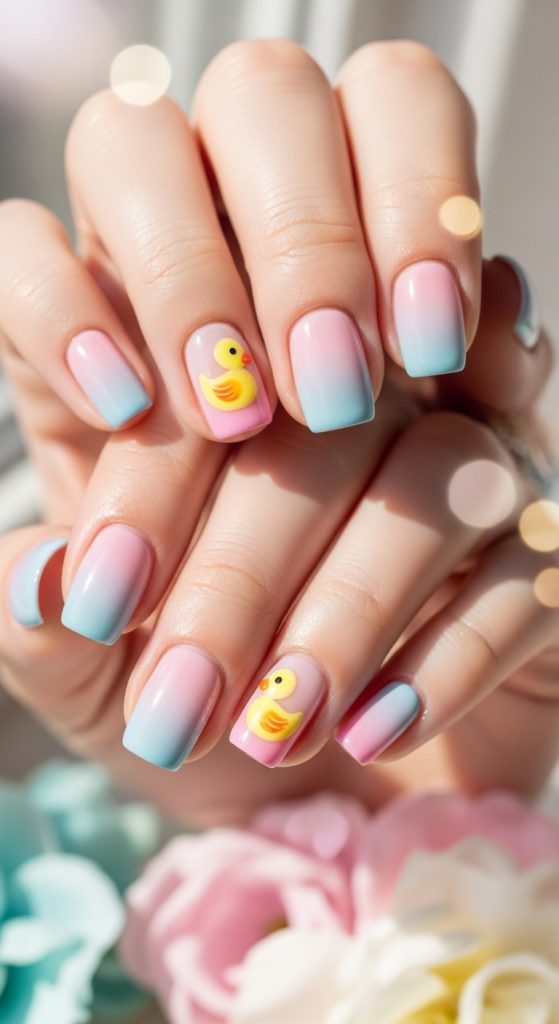
Pastel gradients combined with duck motifs are a springtime favorite. This design creates a soft, dreamy background where small ducks can pop against a smooth color transition. Gradient nails are visually appealing, perfectly Pinterest-ready, and allow for endless color combinations like soft yellow to peach, baby blue to lavender, or pink to cream. This design is ideal for weekend DIY sessions, giving you a professional-looking manicure with a cheerful spring vibe.
Materials / Tools Needed
- Base coat and top coat
- Pastel nail polish shades (2–3 colors for gradient)
- Yellow, orange, and black polish for duck details
- Makeup sponge for gradient effect
- Fine detail brush or dotting tool
Step-by-Step Guide
- Prep Nails: File, buff, and clean nails. Apply a base coat.
- Create Gradient: On a makeup sponge, layer your pastel colors and gently dab onto each nail for a smooth gradient effect.
- Let It Dry: Allow nails to dry completely before adding duck designs.
- Duck Motifs: Using yellow polish, paint small duck shapes on the nails. Add an orange beak and a black eye.
- Top Coat: Seal the design with a glossy top coat to blend the gradient and protect the artwork.
Pastel gradient duck nails are fun, soft, and playful, offering a perfect balance of seasonal charm and elegance.
☁️ Idea 3: Cloud & Duck Nails
Introduction
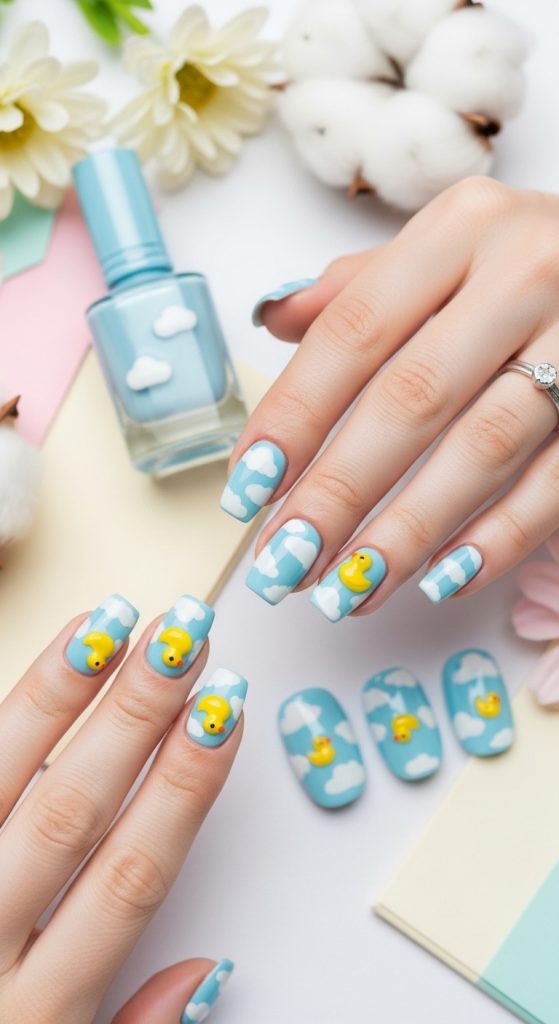
Adding clouds to your duck nails introduces a whimsical, airy element perfect for spring. The combination of cute ducks and fluffy clouds captures a playful, light-hearted aesthetic that is highly engaging visually. This style is perfect for April, as it evokes images of blue skies, spring mornings, and cheerful vibes. Cloud designs can be applied on all nails or just accent nails, making the style versatile and beginner-friendly.
Materials / Tools Needed
- Base coat and top coat
- Light blue nail polish for background
- White, yellow, orange, and black nail polish
- Dotting tool or fine brush
Step-by-Step Guide
- Prep & Base: Shape and clean nails, then paint them light blue for a sky effect.
- Create Clouds: Use white polish to create soft, rounded cloud shapes on each nail.
- Paint Ducks: Add small yellow duck motifs above or near clouds. Add orange beak and black eyes.
- Layering: Ensure all layers dry before adding details to avoid smudging.
- Finish: Apply top coat for shine and durability.
Cloud and duck nails are playful, cute, and visually engaging, ideal for capturing the springtime spirit.
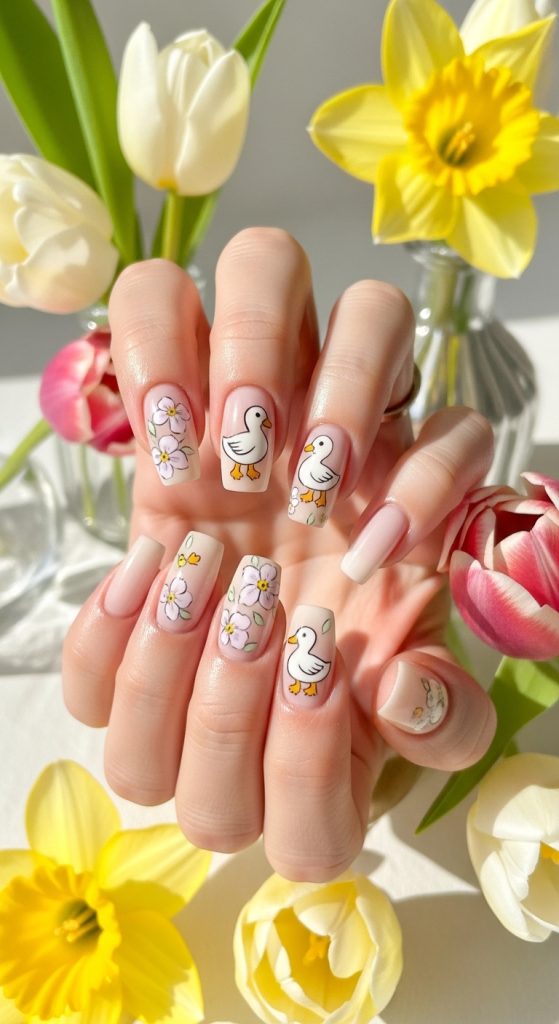
🌼 Idea 4: Floral Duck Nails
Introduction
Combine duck motifs with spring flowers for a bright, cheerful design. This style integrates tiny ducks among delicate blooms, creating a lively, nature-inspired aesthetic perfect for April. Floral duck nails are ideal for special occasions, casual weekend outings, or creating Pinterest-worthy manicure content. They allow for creativity with colors, flowers, and duck placement, offering both beginners and advanced nail artists a fun and rewarding project.
Materials / Tools Needed
- Base coat and top coat
- Pastel or neutral base polish
- Yellow, orange, black polish for ducks
- Assorted colors for flowers (pink, lilac, white)
- Fine brush or dotting tool
Step-by-Step Guide
- Prep & Base: Clean and file nails, then apply a neutral or pastel base color.
- Floral Details: Using fine brushes, paint small flowers on accent nails or all nails.
- Duck Motifs: Add small yellow ducks among the flowers. Include orange beak and black eyes.
- Layer & Dry: Let each layer dry to prevent smudging.
- Seal: Apply top coat to preserve the design and add shine.
Floral duck nails are vivid, cheerful, and perfect for spring, blending adorable ducks with nature-inspired elements for a Pinterest-ready look.
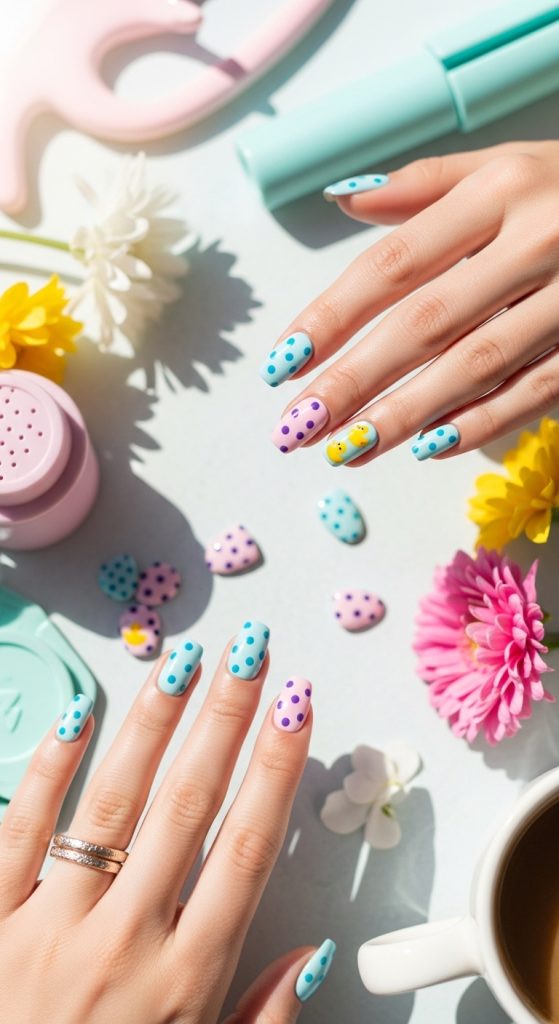
🌈 Idea 5: Ombre & Polka Dot Duck Nails
Introduction
For a fun, playful approach, combining ombre backgrounds with polka dots and duck motifs creates a dynamic, cute, and visually textured design. Ombre provides depth, while polka dots add whimsy, making small duck illustrations pop even more. This style is perfect for weekends, spring photoshoots, or social media shares. It’s beginner-friendly with step-by-step layering techniques and highly adaptable to different nail shapes and lengths.
Materials / Tools Needed
- Base coat and top coat
- Ombre colors (pastels or soft shades)
- Yellow, orange, black polish for ducks
- White or contrasting polish for polka dots
- Sponge for ombre
- Dotting tool or fine brush
Step-by-Step Guide
- Prep & Base: File nails and apply base coat.
- Ombre Background: Use a sponge to blend chosen colors smoothly on each nail.
- Add Polka Dots: With a dotting tool, create small, evenly spaced dots.
- Duck Motifs: Paint tiny yellow ducks among the polka dots. Add orange beaks and black eyes.
- Top Coat: Seal design for shine and durability.
Ombre & polka dot duck nails are cheerful, playful, and visually appealing, perfect for spring and highly Pinterest-worthy.
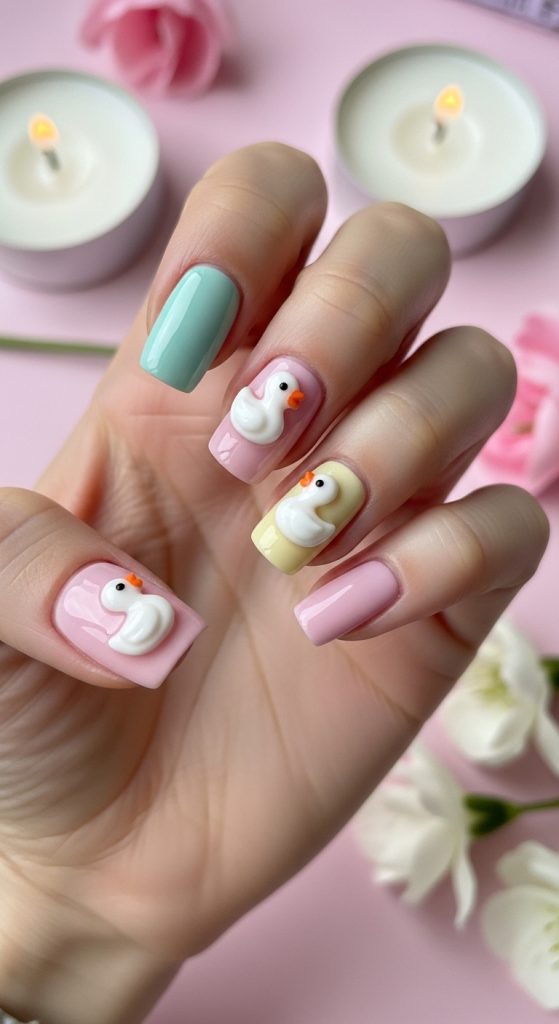
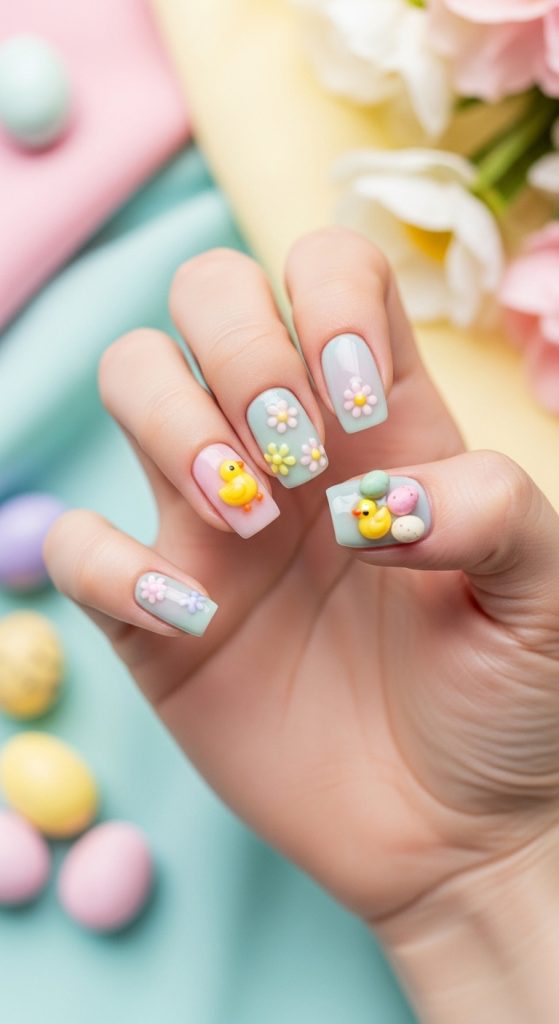
🐤 Idea 6: 3D Duck Nail Art
Introduction
If you want to take your duck nails to the next level, 3D duck nail art adds texture, depth, and an eye-catching effect. This design uses acrylic, gel, or embellishments to create small, raised duck shapes that stand out from the nail surface. 3D designs are ideal for special occasions, spring celebrations, or photo-worthy manicures. They combine creativity with tactile appeal, turning your nails into miniature works of art. 3D duck nails are perfect for April because they reflect the playful, cheerful energy of spring, especially when paired with pastel colors, glitter, or cloud motifs. This style is also highly Pinterest-worthy, as the dimension adds visual interest that photographs beautifully under natural or soft lighting.
Materials / Tools Needed
- Base coat and top coat
- Acrylic or gel kit for 3D designs
- Yellow, orange, and black nail polish or gel paint
- Fine detail brush
- Small dotting tool
- Nail file and buffer
- UV or LED lamp (for gel)
Step-by-Step Guide
- Prep Nails: Clean, file, and buff nails. Apply base coat.
- Base Color: Apply a soft pastel or neutral base and allow it to dry or cure under a lamp.
- Create 3D Ducks: Using acrylic or gel, sculpt small duck shapes on accent nails. Use yellow for the body, orange for the beak, and a small black dot for the eye.
- Curing: Allow the acrylic or gel to fully harden.
- Refine: Shape and smooth edges with a nail file for a neat finish.
- Top Coat: Seal with a clear top coat to protect the 3D design and add shine.
3D duck nail art is playful, visually dynamic, and perfect for Pinterest-inspired spring manicures that capture attention.
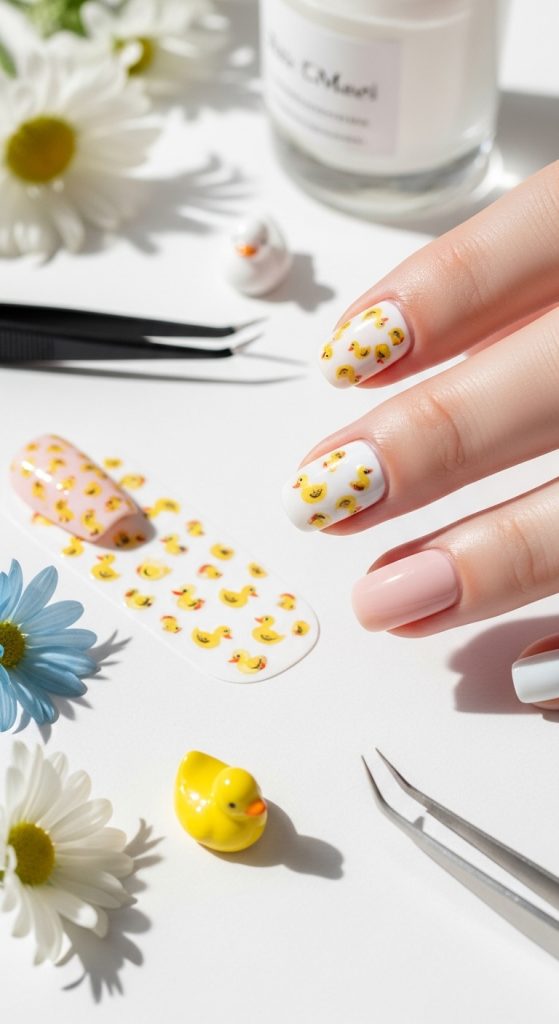
🌷 Idea 7: Duck Nail Stickers & Decals
Introduction
For a quick and beginner-friendly approach, duck nail stickers or decals are perfect. They allow you to achieve professional-looking duck nail designs without freehand painting. This method is ideal for busy weekends in April or for anyone new to nail art. Stickers and decals come in various sizes, from small single ducks to intricate patterns with clouds, flowers, or Easter motifs. Using decals ensures uniformity and precision, making your nails look polished, cohesive, and highly Pinterest-worthy. This technique also encourages creativity—you can layer stickers with gradient backgrounds, glitter, or accent nails for added flair.
Materials / Tools Needed
- Base coat and top coat
- Pastel or neutral nail polish
- Duck nail stickers or decals
- Tweezers for placement
- Nail file and buffer
Step-by-Step Guide
- Prep & Base: Shape nails, buff lightly, and apply a base coat.
- Base Color: Apply your chosen pastel or neutral polish. Let it dry completely.
- Apply Stickers: Use tweezers to carefully place duck stickers or decals on desired nails.
- Seal: Apply a top coat to secure stickers and create a smooth finish.
- Optional: Add glitter, dots, or small flower motifs for extra spring charm.
Duck nail stickers provide a fast, consistent, and adorable design perfect for beginners or last-minute Pinterest-ready manicures.
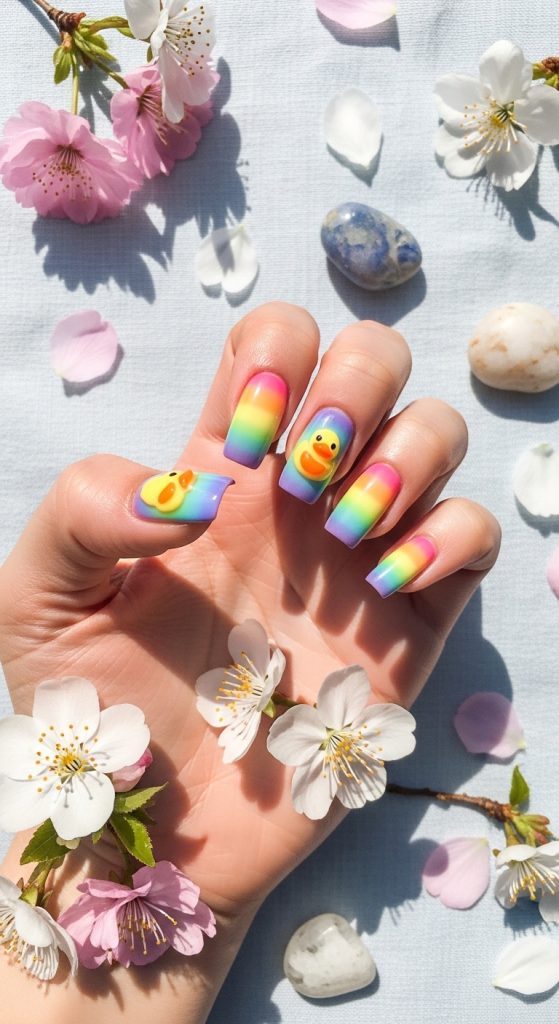
☀️ Idea 8: Rainbow Duck Nails
Introduction
Adding a rainbow theme to your duck nails brings vibrant energy and cheerful vibes to your spring manicure. This design combines multi-colored gradient backgrounds with tiny duck motifs for a fun and playful look. Rainbow duck nails are perfect for April because the bright colors reflect the freshness of spring, floral blooms, and seasonal festivities. This style is visually striking, making it ideal for Pinterest photography, social media sharing, or simply showing off your creative flair. Rainbow backgrounds can be paired with minimalistic ducks, polka dots, or clouds for a balanced aesthetic.
Materials / Tools Needed
- Base coat and top coat
- Multiple nail polish colors for rainbow (pastels or brights)
- Yellow, orange, black nail polish for duck details
- Dotting tool or fine brush
- Makeup sponge for gradient blending
Step-by-Step Guide
- Prep Nails: Clean, shape, and apply a base coat.
- Rainbow Gradient: Layer your rainbow colors on a sponge and dab gently onto nails for a smooth gradient effect.
- Add Ducks: Using yellow polish, paint small duck shapes on accent nails. Add orange beak and black eyes.
- Details: Use dots or glitter sparingly to enhance the playful theme.
- Seal: Finish with a top coat to smooth gradients and protect artwork.
Rainbow duck nails are fun, festive, and highly visual, creating a perfect Pinterest-ready look for spring.
🌸 Idea 9: Easter-Themed Duck Nails
Introduction
Easter-themed duck nails are ideal for April celebrations. They incorporate seasonal motifs like Easter eggs, flowers, soft pastel backgrounds, and playful duck illustrations. This design is both adorable and festive, capturing the essence of springtime fun. Perfect for brunches, family gatherings, or social media, Easter duck nails combine creativity and seasonal charm. The pastel tones, subtle details, and playful designs make them visually engaging and highly shareable, reflecting the joyful spirit of April.
Materials / Tools Needed
- Base coat and top coat
- Pastel nail polish shades
- Yellow, orange, black nail polish for ducks
- White and colorful polish for eggs or flowers
- Fine brush or dotting tool
Step-by-Step Guide
- Prep Nails: File, shape, and buff nails; apply base coat.
- Base Color: Apply pastel colors (one per nail or gradient) and let dry.
- Duck Motifs: Paint tiny yellow ducks on accent nails. Add beak and eye details.
- Add Easter Details: Use fine brushes to paint small Easter eggs, flowers, or tiny dots.
- Top Coat: Seal for shine and durability.
Easter duck nails are festive, playful, and visually charming, perfect for April celebrations or Pinterest inspiration.
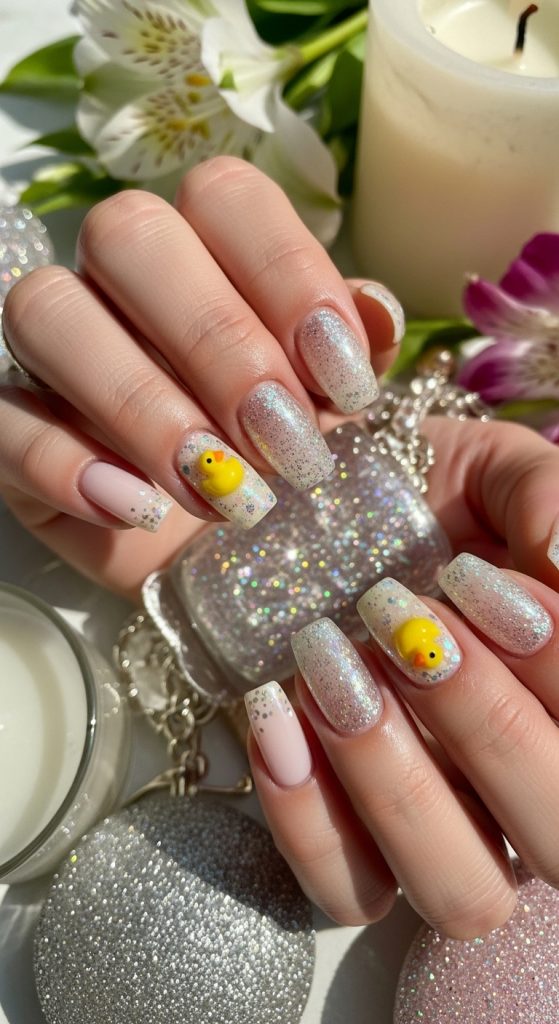
🌿 Idea 10: Glitter & Duck Nails
Introduction
Adding glitter accents to duck nails creates sparkle, dimension, and a playful yet chic effect. Glitter nails are perfect for weekends, parties, or spring photoshoots. Combining soft pastel backgrounds, tiny duck motifs, and subtle glitter gives nails a fun, whimsical vibe without overwhelming the design. The glitter can be applied to accent nails, the background, or layered lightly over duck illustrations for a unique touch. This style is highly Pinterest-ready due to its shine, visual contrast, and seasonal charm, making it ideal for sharing or saving.
Materials / Tools Needed
- Base coat and top coat
- Pastel nail polish shades
- Yellow, orange, black polish for ducks
- Fine glitter polish or loose glitter
- Fine brush or dotting tool
Step-by-Step Guide
- Prep & Base: Clean, shape, and apply base coat.
- Apply Base Color: Use pastel shades for all nails or accent nails.
- Duck Motifs: Paint small yellow ducks on selected nails. Add orange beak and black eyes.
- Add Glitter: Apply subtle glitter on accent nails or lightly over ducks for sparkle.
- Seal: Finish with a top coat to lock in glitter and enhance shine.
Glitter duck nails are sparkly, playful, and visually captivating, perfect for Pinterest and spring celebrations.