
Mother’s Day is more than just a date on the calendar—it’s a heartfelt opportunity to celebrate the woman who shaped our lives, nurtured our dreams, and stood by us through every milestone. Every mom deserves to feel appreciated, loved, and cherished, and what better way to show your gratitude than through thoughtful, handmade crafts? In today’s fast-paced digital world, a DIY project carries a unique charm—it’s personal, memorable, and full of intentionality. When you create something with your own hands, it conveys emotions words often cannot capture, making your gift for Mom truly priceless.
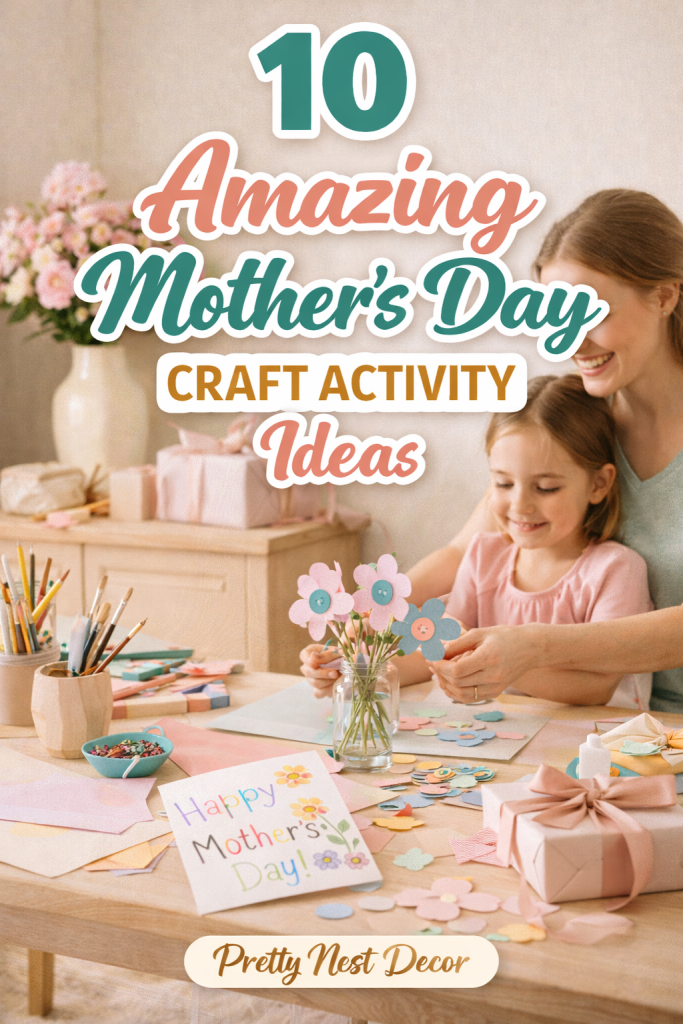
Craft activities for Mother’s Day aren’t just about creating something beautiful—they’re about connection. Engaging in crafts gives you the chance to spend quality time with your mom or even involve kids in making meaningful gifts. From simple paper crafts to intricate handmade keepsakes, these projects allow you to express creativity, love, and gratitude simultaneously. Whether you are a crafting newbie or a seasoned DIY enthusiast, there are countless options to match your skill level, budget, and time availability. These crafts can range from easy last-minute ideas to more elaborate projects that can be treasured for years to come.
The beauty of Mother’s Day crafts lies in their versatility. Handmade gifts reflect thoughtfulness, effort, and consideration, which are often valued more than any store-bought item. A personalized card with heartfelt words, a decorative piece for her home, or a handmade jewelry item can instantly brighten her day. Moreover, crafting encourages mindfulness. As you focus on cutting, painting, gluing, or assembling, you immerse yourself in the creative process, which is both calming and rewarding. This makes crafting not just a gift for Mom, but a gift for yourself as well—a way to unwind, express creativity, and connect with your loved ones in a meaningful way.
In this curated list of 10 amazing Mother’s Day craft activity ideas, we’ve combined creativity, accessibility, and charm. Each craft idea has been selected to be beginner-friendly yet impressive, ensuring that anyone can create something truly special. Whether you are looking to make a heartfelt card, a decorative keepsake, or a practical gift with a personal twist, you’ll find inspiration here. Each project includes step-by-step instructions, a detailed list of materials, and practical tips to ensure your creation is both beautiful and functional. You’ll also find ideas that allow for personalization—adding names, photos, or favorite colors—so that every item reflects your unique relationship with your mom.
Our aim is to make crafting for Mother’s Day approachable, enjoyable, and fun. Many of the ideas in this guide can be completed with materials you likely already have at home, while others may require minimal investment in affordable supplies. By the end of these projects, not only will you have beautiful gifts ready to impress, but you’ll also experience the satisfaction of creating something with intention and love. The joy your mom feels upon receiving a handmade gift is immeasurable, and that emotional impact is what makes these craft ideas so special.
Throughout this guide, you’ll discover projects that can be done individually, collaboratively with kids, or as a relaxing activity for adults. We also include tips on presentation and finishing touches, because even the simplest craft can become a showstopper with thoughtful details. From crafting customized photo frames that immortalize precious memories to creating fragrant candles that fill her home with warmth, these activities are designed to make Mother’s Day unforgettable.
In addition, these crafts foster creativity, problem-solving, and a sense of accomplishment. You’ll notice how satisfying it feels to transform simple materials into stunning, one-of-a-kind creations. Beyond the tangible results, these activities often bring laughter, bonding, and shared memories, which are gifts in themselves. Crafting is a gentle reminder that the best presents are not measured in price tags but in effort, thought, and the love poured into them.
Whether you are planning to surprise your mom with a solo project or involve your children for a collaborative masterpiece, these 10 craft ideas promise to deliver joy, creativity, and heartfelt appreciation. Each idea is presented with practical guidance to make crafting simple yet impactful, ensuring that even beginners can achieve professional-looking results. With clear instructions and an emphasis on personalization, you can confidently create gifts that your mom will cherish forever.
As you explore these Mother’s Day craft activities, remember that the true essence of each project lies in the love and thoughtfulness behind it. Every fold, brushstroke, or glued embellishment communicates care, effort, and the desire to celebrate your mom in a meaningful way. With the right blend of creativity and intentionality, you can turn a simple craft session into an unforgettable celebration of motherhood.
So, get ready to dive into these 10 amazing Mother’s Day craft activity ideas, each carefully crafted to spark inspiration, creativity, and heartfelt joy. Prepare to gather your materials, roll up your sleeves, and create beautiful gifts that will light up your mom’s special day. From timeless keepsakes to playful DIY projects, this guide ensures that every creation is Pinterest-worthy, save-worthy, and designed to make your Mother’s Day celebration truly extraordinary.
Idea 1: Handmade Personalized Mother’s Day Card
Introduction
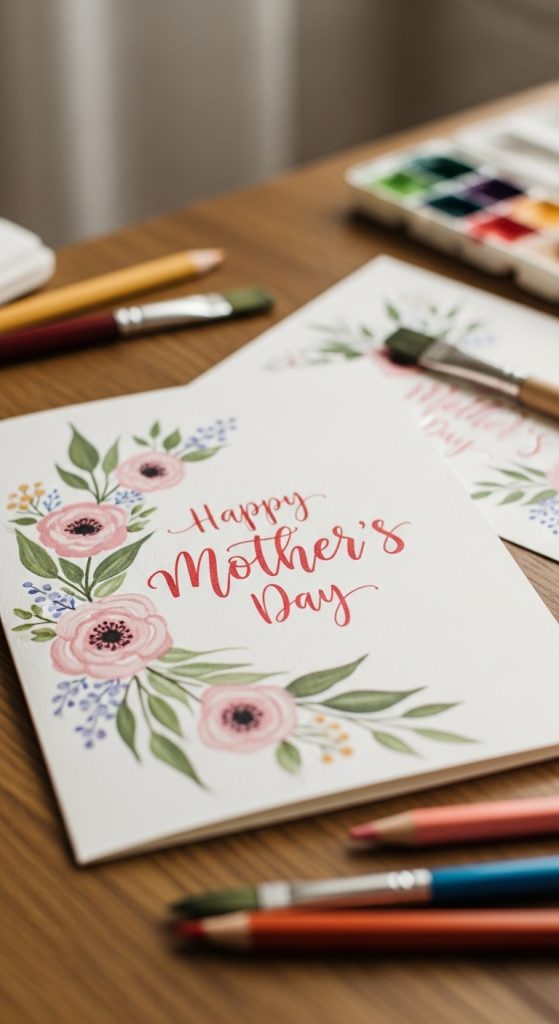
A handmade card is a timeless Mother’s Day gift that allows you to express your love, gratitude, and creativity. Unlike store-bought cards, a DIY card reflects personal effort and thoughtfulness, making it a cherished keepsake for years. This craft is perfect for beginners, kids, or anyone looking to create a heartfelt message. Personalized cards go beyond mere decoration—they tell your mom exactly how much she means to you. By customizing your card with her favorite colors, patterns, and a meaningful message, you can create a one-of-a-kind gift that perfectly complements the essence of Mother’s Day. Making a handmade card is also a relaxing and enjoyable activity. It can be done in a single afternoon with minimal materials, yet it delivers maximum emotional impact. Whether you choose to craft a simple folded card or a more elaborate pop-up design, this activity encourages creativity and allows you to infuse personality into every detail. In this guide, you’ll learn exactly how to create a beautiful personalized card from start to finish, including design ideas, step-by-step instructions, and tips to ensure it’s Pinterest-worthy and memorable.
Definition/Explanation:
A personalized card is a handcrafted greeting designed to celebrate Mother’s Day. Unlike generic cards, it incorporates unique elements such as hand-drawn designs, custom messages, or photos, making it a sentimental gift that moms love to display or keep as a memory.
Step-by-Step How-To:
- Choose a base card: Fold cardstock in half for a standard card or opt for a tri-fold for more space.
- Pick a theme: Decide whether you want floral designs, abstract art, or a pop-up element inside.
- Sketch lightly: Use a pencil to outline drawings or text before coloring.
- Add colors: Use markers, colored pencils, watercolors, or paints to bring your design to life.
- Include a heartfelt message: Write a personal note expressing love, appreciation, and gratitude.
- Optional embellishments: Glue ribbons, stickers, or pressed flowers to add texture and elegance.
- Final touches: Review for any smudges, add glitter or highlights, and allow to dry completely.
Materials Needed:
- Cardstock or heavy paper
- Pencils and erasers
- Colored pencils, markers, or watercolors
- Glue stick or craft glue
- Decorative stickers or ribbons
- Optional: pressed flowers, glitter, washi tape
Idea 2: Customized Photo Frame
Introduction
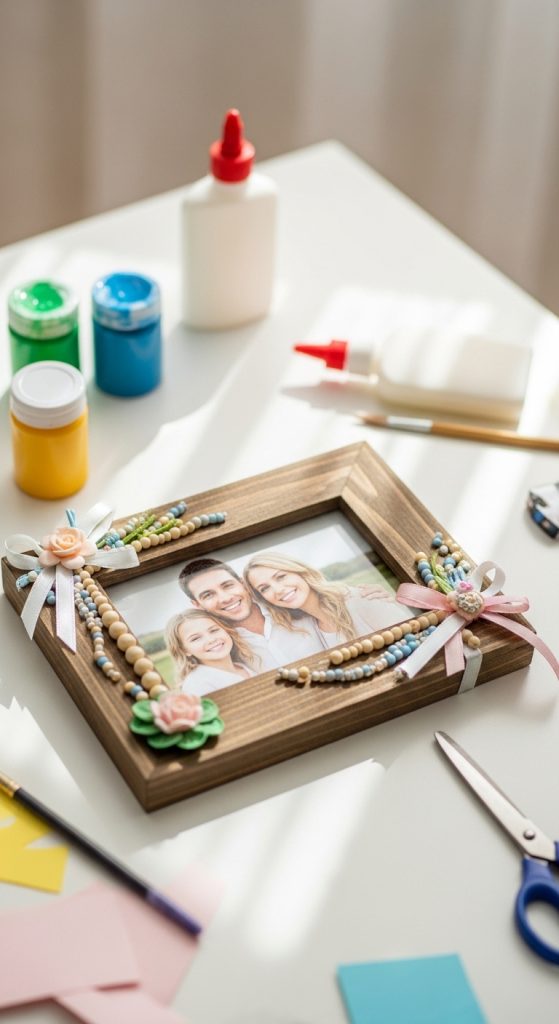
A personalized photo frame transforms a simple picture into a meaningful gift. Moms love memories, and a DIY photo frame adds both style and sentiment to any cherished photo. Unlike generic frames, a handmade frame allows you to showcase creativity and tailor it to your mom’s taste. You can design it with colors, embellishments, or textures that reflect her personality or the theme of your family memories. Crafting a customized frame is a perfect indoor activity for adults or kids, and the result is a Pinterest-worthy gift that can hold special photographs for years. This project encourages creativity while being functional—a perfect combination for Mother’s Day. Whether it’s a tabletop frame or a hanging wall piece, your mom will appreciate the thought and effort invested in this personalized gift. We will guide you step by step to design and decorate a frame that’s stylish, meaningful, and memorable.
Definition/Explanation:
A customized photo frame is a handcrafted frame that highlights a personal photograph and is decorated according to a specific theme or style. It can be adapted with paint, embellishments, or craft materials to reflect the recipient’s personality.
Step-by-Step How-To:
- Select a frame base: Buy a plain wooden or cardboard frame.
- Prepare the surface: Sand lightly if needed, and apply a primer or base coat of paint.
- Choose a theme: Decide on a color palette and design style—rustic, floral, modern, or whimsical.
- Decorate: Paint patterns, glue beads, buttons, or ribbons to embellish.
- Personalize: Add mom’s name, initials, or a short phrase using a paint pen or stickers.
- Insert the photo: Choose a memorable photo and place it inside the frame.
- Final touches: Apply a sealant or varnish to protect the design.
Materials Needed:
- Wooden, cardboard, or plain frame
- Acrylic paints and brushes
- Craft glue or hot glue
- Embellishments: beads, buttons, ribbons, stickers
- Paint pen or markers for personalization
- Sealant or varnish (optional)
- A cherished photo
Idea 3: Handmade Scented Candle
Introduction
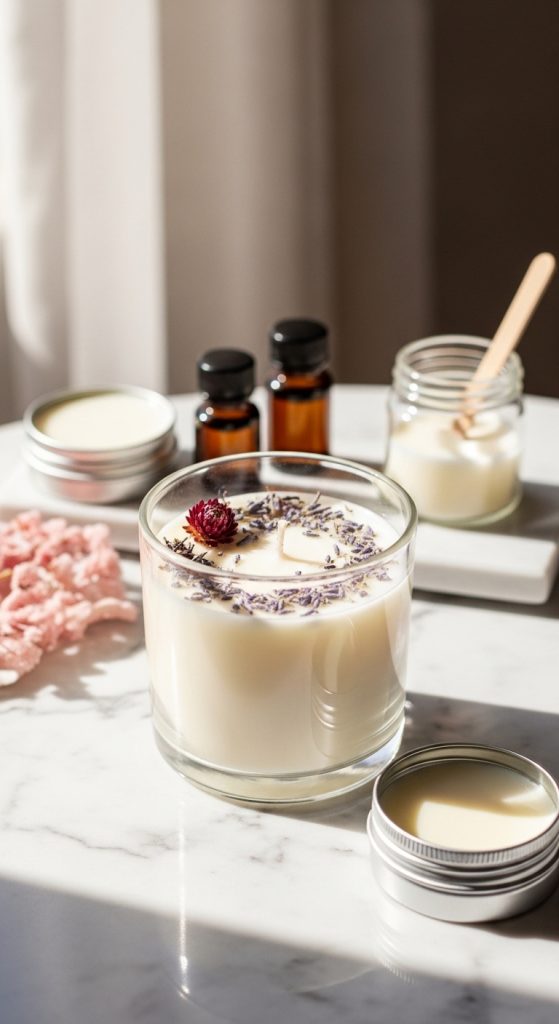
A handmade scented candle is an elegant and heartfelt gift that adds warmth and comfort to any home. Candles symbolize relaxation, coziness, and ambiance, making them perfect for Mother’s Day. Creating a DIY scented candle allows you to choose fragrances that your mom loves, from floral scents like lavender and rose to comforting aromas like vanilla and cinnamon. Unlike store-bought candles, homemade candles show effort and personalization, which make them memorable and cherished. Crafting candles is an enjoyable and calming activity, perfect for an afternoon spent creating a gift with love. The project is also versatile—you can create candles in decorative jars, teacups, or even recycled containers, adding a sustainable twist. This step-by-step guide will teach you to make beautiful, fragrant candles that look professional but are simple enough for beginners.
Definition/Explanation:
A handmade scented candle is a candle created from wax, fragrance oils, and a wick, designed for aesthetic appeal and aromatic enjoyment. These candles can be personalized in color, shape, scent, and container for a unique gift.
Step-by-Step How-To:
- Choose wax type: Soy wax is beginner-friendly and eco-conscious.
- Select a container: Glass jars, teacups, or small tins work well.
- Prepare the wick: Place it in the center of the container using a holder or pencil to stabilize.
- Melt the wax: Use a double boiler to safely melt the wax.
- Add fragrance: Mix in essential oils or fragrance oils once the wax is melted.
- Pour wax: Carefully pour into containers, ensuring the wick remains centered.
- Let it set: Allow candles to harden for several hours. Trim the wick before gifting.
Materials Needed:
- Soy wax or paraffin wax
- Candle wick
- Heat-safe container
- Double boiler or melting pot
- Essential oils or fragrance oils
- Stirring utensil
- Optional: color dyes, decorative labels
Idea 4: DIY Flower Bouquet from Paper or Fabric
Introduction
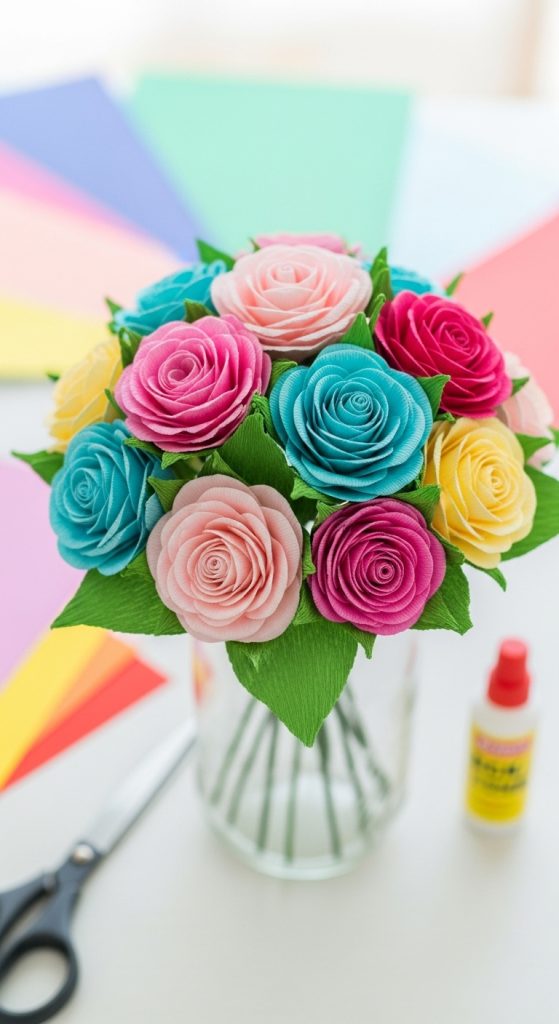
Fresh flowers are always appreciated, but they wilt quickly. A DIY flower bouquet made from paper or fabric lasts much longer and can be customized to your mom’s favorite colors and styles. Crafting a bouquet allows for creativity and personalization while delivering a meaningful gift that maintains its charm over time. Handmade flowers are versatile—they can be used for decoration, added to gifts, or arranged in a vase to brighten up any room. This craft activity is enjoyable, relaxing, and ideal for people of all ages. It provides an opportunity to experiment with textures, shapes, and colors, ensuring that each bouquet is unique. With step-by-step instructions and beginner-friendly techniques, you can create stunning, Pinterest-worthy bouquets that will impress your mom while giving you a fun and fulfilling crafting experience.
Definition/Explanation:
A DIY flower bouquet consists of handcrafted flowers made from materials like paper or fabric, arranged in a bouquet formation. These artificial flowers are long-lasting, customizable, and ideal as a decorative gift.
Step-by-Step How-To:
- Select materials: Choose colored paper, crepe paper, or fabric.
- Cut petals: Trace and cut petal shapes according to the type of flower you want.
- Assemble flowers: Glue or sew petals around a stem (wire or wooden stick).
- Add leaves: Cut green paper or fabric and attach leaves to stems.
- Arrange bouquet: Gather multiple flowers and secure with ribbon or twine.
- Optional vase: Place in a decorative vase for presentation.
Materials Needed:
- Colored paper, crepe paper, or fabric
- Glue or sewing kit
- Wire or wooden sticks for stems
- Ribbon or twine
- Scissors
- Optional: vase for display
Idea 5: Handmade Jewelry (Bracelet or Necklace)
Introduction
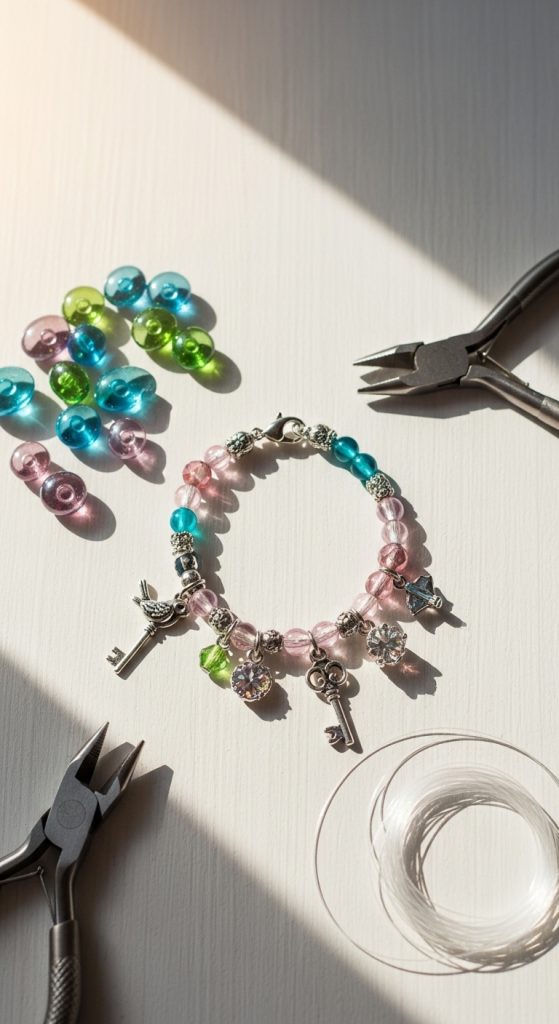
Handmade jewelry is a thoughtful and stylish Mother’s Day gift that can be tailored to your mom’s personality. Jewelry has sentimental value, especially when it is personalized with colors, beads, charms, or initials. Creating a DIY bracelet or necklace is an engaging activity that allows beginners and kids to produce professional-looking results without complicated tools. The act of designing and assembling jewelry conveys thoughtfulness and love, making it an especially meaningful present. Handmade jewelry also encourages creativity—you can mix and match colors, textures, and charms to reflect your mom’s style. This craft can be as simple or elaborate as you wish, from beaded bracelets to charm necklaces. This guide provides step-by-step instructions and beginner-friendly techniques to make jewelry that your mom will treasure.
Definition/Explanation:
Handmade jewelry is an accessory crafted from beads, charms, wires, or threads, designed for personal style and sentiment. Each piece is unique and can reflect individual preferences or special messages.
Step-by-Step How-To:
- Choose your design: Decide on a bracelet, necklace, or charm accessory.
- Select materials: Pick beads, charms, string, and clasps that match your theme.
- Measure length: Determine wrist or neck size and cut string/wire accordingly.
- Assemble beads: Thread beads and charms onto the string in your chosen pattern.
- Secure ends: Tie knots or attach clasps to complete the jewelry piece.
- Optional finishing touches: Add small decorations like charms or pendants for personalization.
Idea 6: Hand-Painted Mug for Mom
Introduction
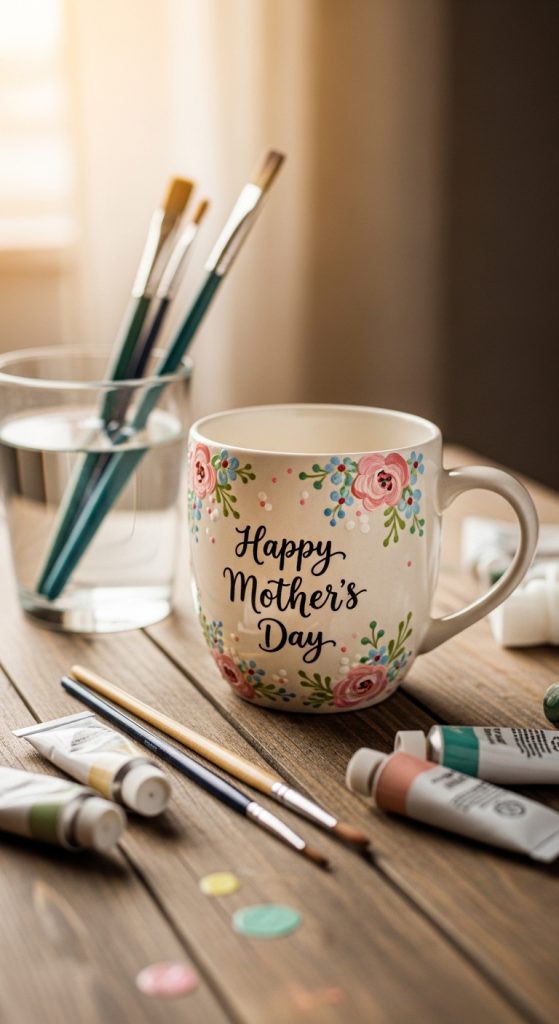
A hand-painted mug is a practical yet thoughtful gift that your mom can use every day, whether for her morning coffee, tea, or hot chocolate. Unlike store-bought mugs, a DIY mug reflects your personal touch and creativity, transforming a simple kitchen item into a sentimental keepsake. Hand-painted mugs allow you to incorporate her favorite colors, patterns, quotes, or even small illustrations that hold meaning between you and her. This craft is perfect for beginners and can be accomplished in an afternoon, yet the impact is long-lasting. It’s not only a creative activity but also a chance to make something functional and beautiful. Moms appreciate personalized items that add charm to their daily routine, and a hand-painted mug delivers exactly that. Additionally, this project encourages mindfulness and focus, giving you the joy of creating while expressing love. This guide will teach you how to create a stunning, customized mug that’s dishwasher-safe, long-lasting, and perfect for Mother’s Day gifting.
Definition/Explanation:
A hand-painted mug is a plain ceramic mug customized with paints or markers to feature personalized designs, patterns, or text. It transforms an everyday item into a meaningful and memorable gift that your mom will cherish.
Step-by-Step How-To:
- Select a mug: Choose a plain, light-colored ceramic mug for the best results.
- Clean the surface: Wash and dry the mug to remove dirt and oils.
- Choose paints/markers: Use ceramic paints or permanent markers suitable for glass/ceramic.
- Plan your design: Sketch your design lightly with a pencil or stencil if needed.
- Paint the mug: Carefully apply your design, layer colors as needed, and let it dry.
- Bake the mug: Follow paint instructions, usually baking at 350°F (175°C) for 30 minutes to set the design.
- Cool and finish: Allow the mug to cool completely before using or gifting.
Materials Needed:
- Plain ceramic mug
- Ceramic paints or permanent markers
- Pencil or stencil for design
- Paintbrushes
- Oven for baking
- Optional: sealant for extra durability
Idea 7: DIY Mother’s Day Tote Bag
Introduction
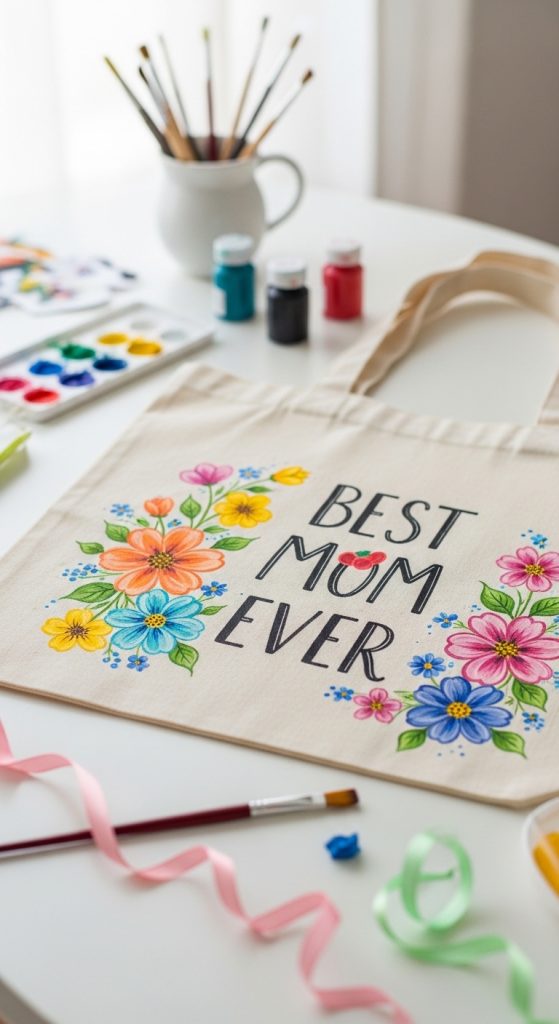
A handmade tote bag is a versatile and eco-friendly gift that combines functionality with personal style. Tote bags are perfect for grocery runs, work, school, or casual outings, making them a practical yet thoughtful present. A DIY tote bag allows you to customize it with unique patterns, colors, and messages, ensuring your mom receives a one-of-a-kind accessory. Crafting a tote bag is both creative and rewarding, as it allows you to explore different painting, stamping, or embroidery techniques. Even beginners can achieve impressive results using fabric paints, stencils, or iron-on designs. Personalized tote bags not only make thoughtful gifts but also showcase your effort and care, which resonates more deeply than generic store-bought options. This project is ideal for anyone looking to create a functional, stylish, and heartfelt Mother’s Day gift. In this guide, we’ll explore easy techniques and step-by-step instructions to craft a beautiful tote bag that is Pinterest-worthy and sure to impress.
Definition/Explanation:
A DIY tote bag is a reusable fabric bag customized with paint, embroidery, or appliqué designs. It is practical, eco-friendly, and serves as a canvas for personal expression, making it a meaningful Mother’s Day gift.
Step-by-Step How-To:
- Choose a tote bag: Plain cotton or canvas bags work best.
- Plan the design: Sketch ideas on paper before transferring them to the bag.
- Apply paint or embroidery: Use fabric paint, stamps, or embroidery to create your design.
- Heat-set the design: If using paint, follow instructions for heat-setting to make it permanent.
- Optional embellishments: Add patches, sequins, or ribbons to enhance the design.
- Final touches: Check for smudges or loose threads, ensure all elements are secure.
Materials Needed:
- Plain cotton or canvas tote bag
- Fabric paints, stamps, or embroidery thread
- Paintbrushes or needles
- Pencils for sketching
- Iron or heat source for setting paint
- Optional: patches, sequins, ribbons
Idea 8: DIY Memory Jar
Introduction
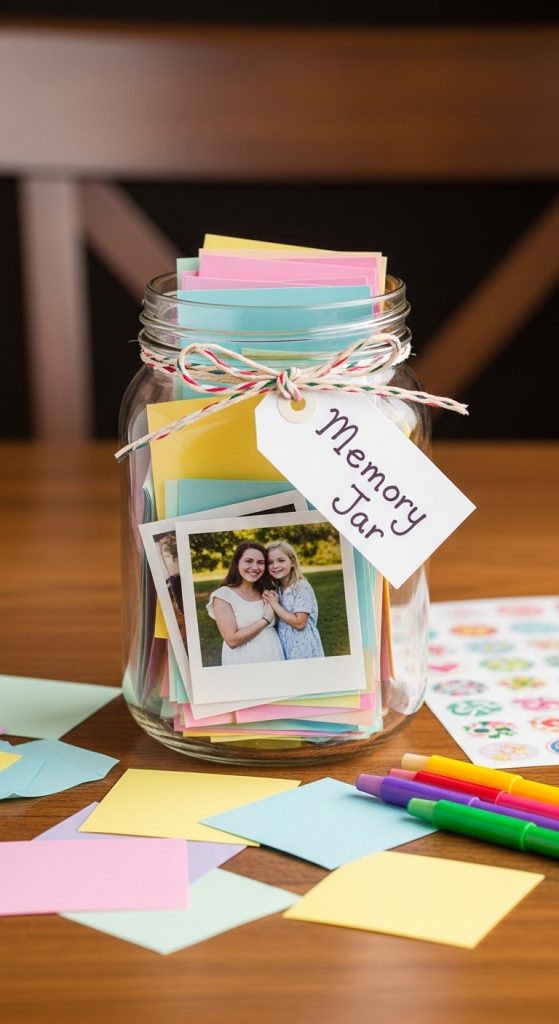
A memory jar is a sentimental and meaningful gift that allows your mom to relive special moments anytime she wishes. This craft involves filling a jar with notes, photos, or keepsakes, each representing a cherished memory, compliment, or message of love. Memory jars are perfect for Mother’s Day because they combine creativity with emotional value, creating a lasting keepsake that your mom can revisit whenever she wants a boost of happiness. Crafting a memory jar is an easy and enjoyable activity suitable for beginners, kids, or adults. You can customize the jar’s appearance with paints, ribbons, or labels, making it both beautiful and meaningful. This project encourages reflection, mindfulness, and connection, as you consider the memories and messages you want to include. The result is a unique, heartfelt gift that captures the essence of love and appreciation. This step-by-step guide will help you create a memorable, Pinterest-worthy memory jar that your mom will treasure forever.
Definition/Explanation:
A memory jar is a decorated container filled with notes, photos, or small keepsakes representing personal memories or sentiments. It serves as a thoughtful gift that combines creativity, personalization, and emotional value.
Step-by-Step How-To:
- Select a jar: Choose a glass or clear container with a lid.
- Decorate the jar: Paint, use ribbons, stickers, or label to personalize.
- Prepare notes: Cut colored paper into small squares or tags.
- Write memories: Include messages, memories, reasons why you love your mom, or inspirational quotes.
- Optional photos: Print mini photos and roll them into the jar.
- Fill the jar: Place all notes and keepsakes inside neatly.
- Final touches: Add a bow, tag, or charm to the lid for decoration.
Materials Needed:
- Glass jar with lid
- Colored paper or tags
- Pens or markers
- Ribbon, stickers, or decorative elements
- Optional: mini photos, charms, or beads
Idea 9: DIY Bath Bombs for Relaxation
Introduction
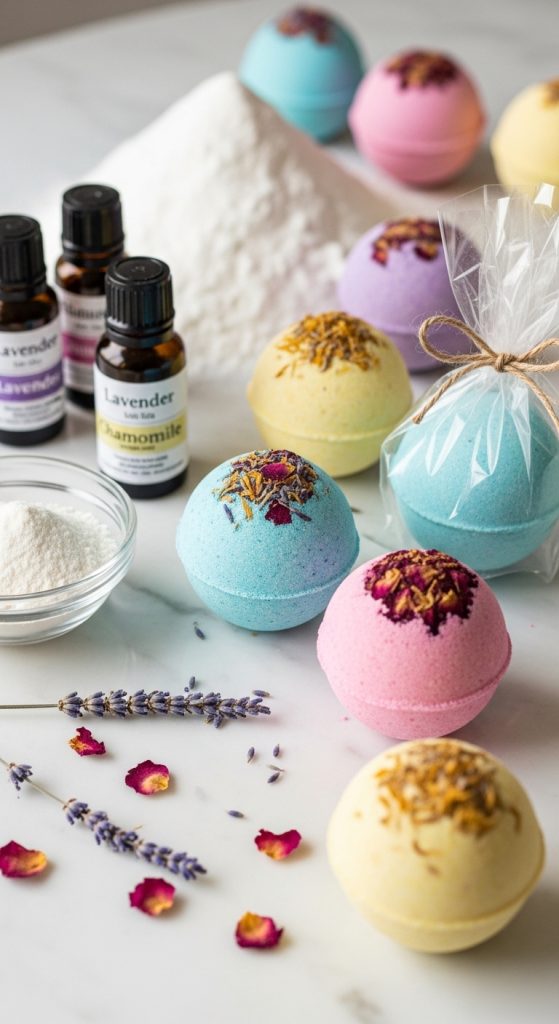
Homemade bath bombs are luxurious, pampering gifts that allow your mom to indulge in self-care and relaxation. Bath bombs are fun to make and customizable, giving you the chance to add favorite scents, colors, and even dried flowers. Unlike generic spa products, DIY bath bombs show creativity, thoughtfulness, and personalization, making them an ideal Mother’s Day gift. This craft is perfect for both beginners and enthusiasts, as it combines science, art, and sensory enjoyment. Creating bath bombs involves mixing ingredients, molding shapes, and allowing them to set, resulting in beautiful, fizzy products that enhance bath time. Not only does this project produce visually appealing gifts, but it also provides a relaxing experience for both the maker and recipient. By following step-by-step instructions, you can craft fragrant, colorful bath bombs that are Pinterest-worthy and perfect for gifting.
Definition/Explanation:
A bath bomb is a compact, scented product made from baking soda, citric acid, and other natural ingredients that effervesce in water. Handmade bath bombs can be personalized with colors, fragrances, and decorative elements for gifting.
Step-by-Step How-To:
- Mix dry ingredients: Combine baking soda, citric acid, cornstarch, and Epsom salts in a bowl.
- Add wet ingredients: Mix essential oils, water, and food coloring carefully.
- Blend: Slowly combine wet and dry ingredients to avoid fizzing prematurely.
- Mold the mixture: Press into silicone molds and compact tightly.
- Dry: Allow bath bombs to set for 24–48 hours.
- Remove from mold: Carefully unmold, and optionally add dried flowers or glitter.
- Package: Wrap in cellophane, tie with ribbon, or place in decorative boxes.
Materials Needed:
- Baking soda
- Citric acid
- Cornstarch
- Epsom salts
- Essential oils
- Food coloring
- Silicone molds
- Optional: dried flowers, glitter, cellophane, ribbon
Idea 10: DIY Handprint Canvas Art
Introduction
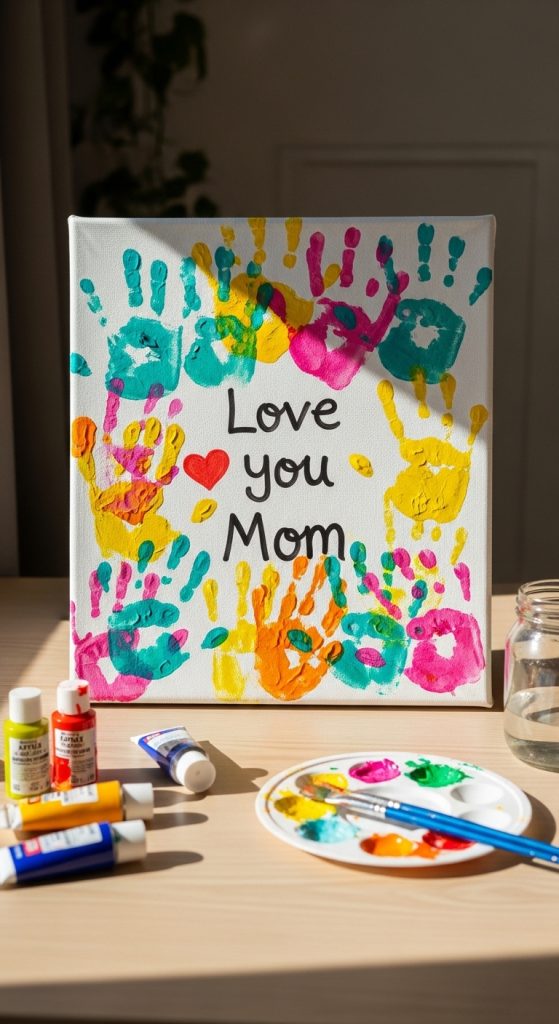
Handprint canvas art is a creative and sentimental gift that preserves the personal touch of your family for Mother’s Day. This project involves using paint to capture handprints on canvas, creating a beautiful, meaningful keepsake. Handprint art allows for endless customization—you can include multiple family members, add names or dates, and even decorate with quotes or patterns. This craft is ideal for kids and beginners, as it’s simple, fun, and requires minimal artistic skill while producing a visually impactful result. Moms love handprint art because it represents the hands that love and support her, making it a deeply personal gift. Crafting a handprint canvas is also a bonding activity that can be enjoyed with children, combining creativity with emotion. This step-by-step guide will help you create a charming, Pinterest-worthy canvas that your mom will treasure for years.
Definition/Explanation:
Handprint canvas art is a decorative canvas featuring handprints, often of family members, combined with painted or written designs. It serves as a keepsake symbolizing love and personal connection.
Step-by-Step How-To:
- Prepare canvas: Choose a blank canvas and lay it on a flat surface.
- Choose paint: Use non-toxic, washable acrylic paints for hands.
- Apply paint: Coat hands evenly with paint.
- Press hands onto canvas: Position carefully for design symmetry.
- Add details: Paint names, dates, or decorative elements around prints.
- Let dry: Allow canvas to dry completely.
- Optional frame: Frame the canvas for a polished finish.
Materials Needed:
- Blank canvas
- Acrylic or washable paint
- Paintbrushes
- Pencil for sketches
- Optional: frame, markers for names/dates