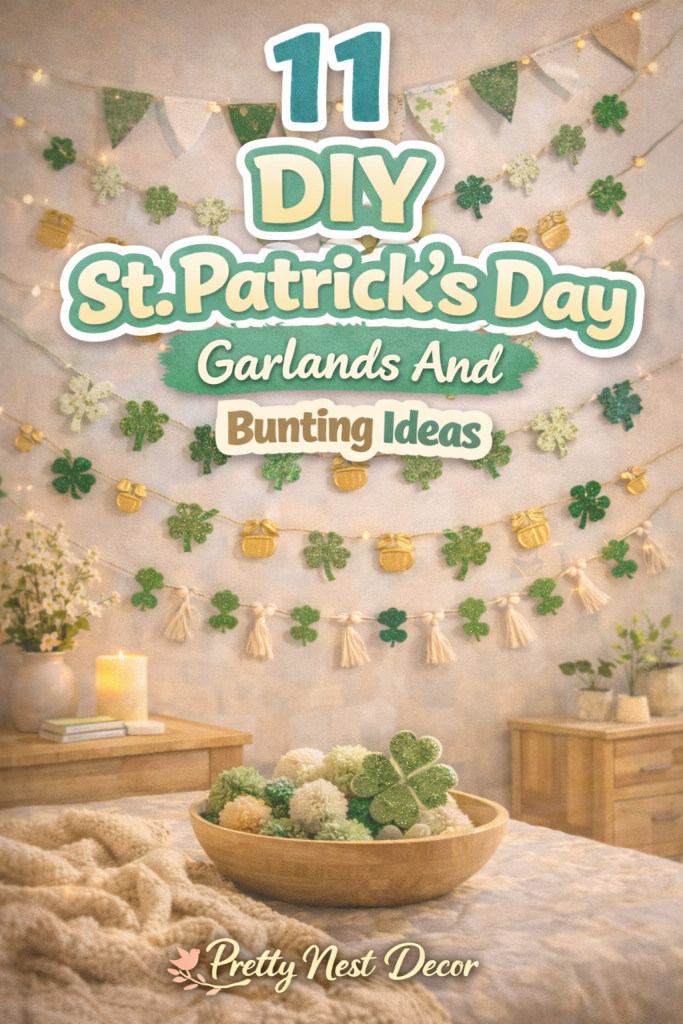
St. Patrick’s Day is the perfect occasion to add festive cheer to your home, and one of the most charming ways to do so is with DIY garlands and bunting. These simple decorations instantly brighten a space, creating a whimsical, celebratory atmosphere without spending a fortune. Whether you’re planning a St. Patrick’s Day party, decorating a mantel, or adding a touch of green to your living room, handmade garlands and buntings allow for endless creativity and personalization.
DIY garlands and bunting are particularly appealing because they are beginner-friendly, budget-conscious, and customizable. Using materials like colored paper, felt, ribbon, twine, and even recycled items, you can craft a variety of designs—from classic shamrocks and leprechaun hats to rainbows, pots of gold, and playful lettering. These projects don’t require professional skills, yet they produce professional-looking results when planned thoughtfully.
Color schemes are key to a cohesive festive design. Traditional green shades, combined with gold accents, white, or pastel tones, create a visually appealing palette that is both fun and modern. Mixing textures, such as felt, metallic cardstock, and patterned paper, adds depth and interest to garlands and bunting, making them more dynamic and eye-catching.
DIY St. Patrick’s Day garlands can vary in style, from minimalist single-shape designs to layered, multi-element creations. Triangle pennants, shamrock chains, ribbon streamers, and circular paper garlands are all versatile and easy to assemble. You can hang them across walls, over mantels, along staircases, or even outdoors on porches. Buntings with playful lettering can spell out “Happy St. Patrick’s Day,” “Luck of the Irish,” or any custom message, enhancing the celebratory mood.
Another advantage of DIY garlands and bunting is their adaptability. You can scale projects to suit your space—from small garlands draped across a shelf to long, cascading buntings that span a large wall. Using affordable materials or repurposing items like old scrapbook paper, fabric scraps, or leftover ribbon keeps costs low while producing beautiful, festive decorations.
Step-by-step guidance ensures that even beginners can successfully complete these projects. With clear instructions on cutting, shaping, stringing, and hanging, DIY garlands and bunting become achievable and satisfying. Additionally, creating these decorations can be a fun family activity, where kids can participate safely in cutting and decorating, fostering creativity while celebrating the holiday.
In this guide, we will explore detailed DIY garland and bunting ideas designed to help you craft festive, Pinterest-worthy decorations for St. Patrick’s Day. Each idea includes a clear introduction, step-by-step instructions, and a materials list, making it easy to replicate at home. By the end of this section, you will have actionable, visually stunning ideas to create a cheerful St. Patrick’s Day ambiance without overspending or requiring professional crafting skills.
These DIY decorations are perfect for bringing a sense of luck, fun, and creativity into your home. From simple shamrock chains to elaborate rainbow-and-gold bunting, each project balances festive charm with modern, minimalist design sensibilities. With a few basic materials, careful planning, and a touch of creativity, your St. Patrick’s Day décor will be both eye-catching and budget-friendly—perfect for Pinterest-worthy inspiration.
1. Shamrock Paper Garland
Introduction
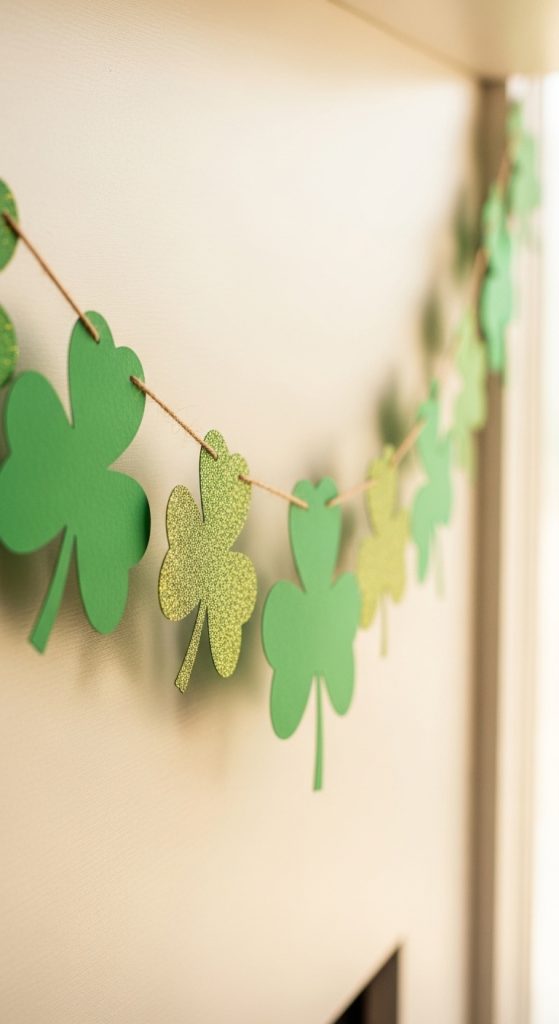
A classic shamrock garland instantly brings St. Patrick’s Day cheer. This DIY project is simple, budget-friendly, and highly customizable. Using green cardstock, felt, or recycled paper, you can create multiple shamrocks in varying sizes, which adds depth and visual interest. By stringing them on twine or ribbon, the garland can easily decorate mantels, windows, doorways, or walls.
This garland is perfect for beginners because it requires minimal tools and materials, yet it looks professionally crafted when assembled thoughtfully. Layering shamrocks in two or three sizes gives the garland a whimsical, dynamic effect. Adding small gold or glitter accents to some shamrocks introduces subtle sparkle, making the garland Pinterest-worthy. Using neutral-toned twine ensures that the focus remains on the shamrocks while complementing modern and minimalist décor.
Clear Explanation
A shamrock garland is a versatile, easy-to-make decoration that brings festive charm while remaining budget-friendly and beginner-friendly.
Step-by-Step How-To
- Cut multiple shamrocks from green cardstock or felt (small, medium, and large sizes).
- Optional: Add gold glitter accents using glue or metallic markers.
- Punch a small hole at the top of each shamrock.
- Thread twine or ribbon through the holes to create the garland.
- Space shamrocks evenly along the string.
- Hang across your mantel, window, or wall.
Materials Needed
- Green cardstock or felt
- Scissors
- Twine or ribbon
- Hole punch
- Optional: gold glitter or metallic marker
2. Rainbow Paper Bunting
Introduction
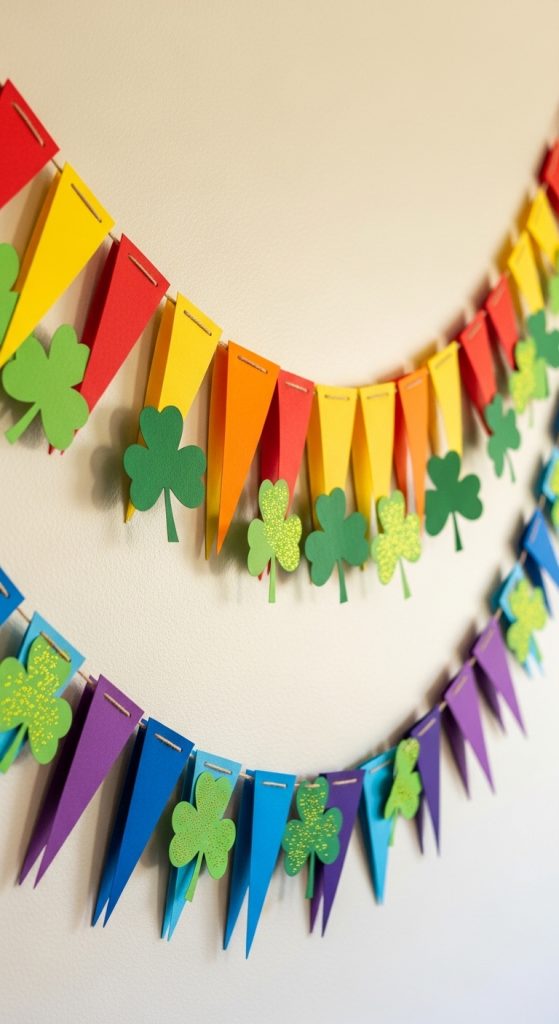
A rainbow bunting instantly brightens a St. Patrick’s Day space. Using colored paper in red, orange, yellow, green, blue, and purple, you can create triangle pennants that form a cheerful rainbow sequence. The bunting can be simple or layered for a more dynamic look. Neutral-toned string or twine ensures that the colors pop while maintaining a modern aesthetic.
This DIY project is cost-effective and beginner-friendly. Triangle shapes are easy to cut, and the bunting can be customized in size depending on your space. Adding small shamrock cutouts to the tips of each triangle adds extra festive detail. Because the rainbow bunting is vibrant, it can be a focal point in your St. Patrick’s Day décor, perfect for hanging above a mantel, doorway, or along a staircase.
Clear Explanation
Rainbow bunting adds color and energy to your décor, is easy to assemble on a budget, and creates a fun, Pinterest-worthy focal point for the holiday.
Step-by-Step How-To
- Cut triangle pennants from colored cardstock (red, orange, yellow, green, blue, purple).
- Optional: Glue small shamrocks or gold accents onto the triangles.
- Punch holes at the top corners of each triangle.
- Thread twine or ribbon through the holes in rainbow order.
- Space evenly and secure with tape or glue if needed.
- Hang across walls, windows, or doorways.
Materials Needed
- Colored cardstock (red, orange, yellow, green, blue, purple)
- Scissors
- Twine or ribbon
- Hole punch
- Optional: shamrock cutouts or glitter accents
3. Mini Leprechaun Hat Garland
Introduction
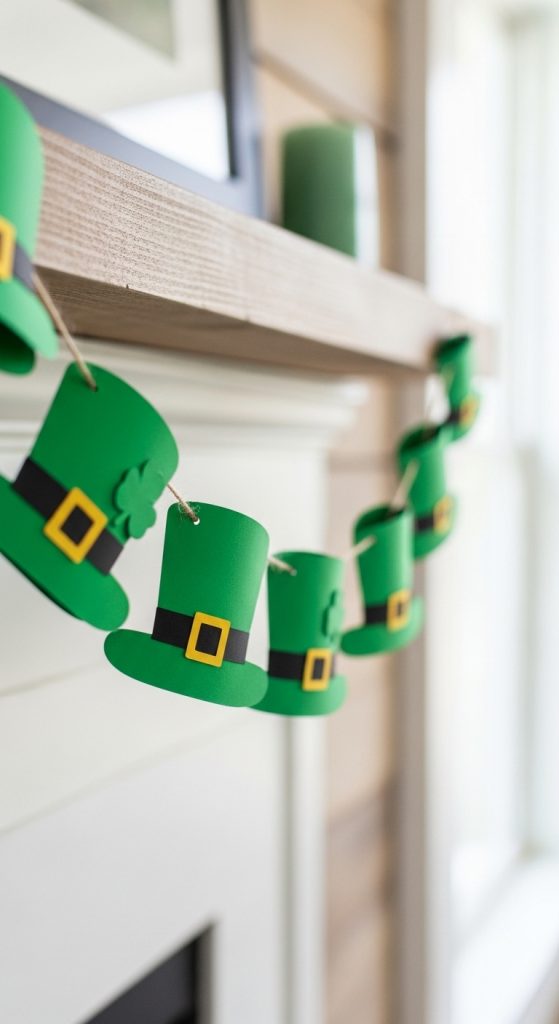
For a playful twist, create a mini leprechaun hat garland. Using green paper, black bands, and small gold buckle accents, this garland is whimsical yet modern. Tiny hats strung together on twine add charm and movement to any space. This DIY is inexpensive, beginner-friendly, and perfect for adding themed décor above a mantel, staircase, or window.
The mini leprechaun hat garland is ideal for families or kids’ spaces. Each hat can be crafted quickly, and variations in size make the garland dynamic and visually appealing. Layering or alternating hats with shamrocks creates variety and highlights the St. Patrick’s Day theme. Because of its playful design, this garland is especially Pinterest-worthy and creates a festive focal point for your celebration.
Clear Explanation
Mini leprechaun hat garlands bring playful, themed décor to any St. Patrick’s Day space, are easy to assemble, and look festive without costing much.
Step-by-Step How-To
- Cut small triangles from green cardstock for hat tops.
- Cut rectangles for black bands and small squares for gold buckles.
- Glue bands and buckles onto the triangles to form hats.
- Punch holes at the top of each hat.
- Thread twine through the holes, spacing evenly.
- Hang across the desired area for a playful festive display.
Materials Needed
- Green, black, and gold cardstock
- Scissors
- Glue
- Twine or ribbon
- Hole punch
4. Shamrock and Gold Coin Garland
Introduction
Combine shamrocks with small gold coin cutouts for a garland that evokes luck and whimsy. This garland mixes two simple shapes for an elevated, Pinterest-worthy effect. Using green cardstock for shamrocks and gold metallic paper or foil for coins, the combination instantly adds holiday cheer.
This DIY is perfect for mantel displays, staircase rails, or hanging across a party table. Layering shamrocks and gold coins in alternating patterns creates movement and visual interest. Lightweight materials keep the garland easy to hang and versatile. Because the garland combines classic St. Patrick’s Day symbols, it adds a cohesive, festive feel to your home décor without expensive materials.
Clear Explanation
Alternating shamrocks and gold coins create a visually engaging garland that combines St. Patrick’s Day symbols, ideal for budget-friendly DIY décor.

Step-by-Step How-To
- Cut shamrocks from green cardstock or felt.
- Cut small gold coins from metallic cardstock or foil paper.
- Punch holes at the top of each shape.
- Thread shapes onto twine in alternating order (shamrock, coin, shamrock…).
- Space shapes evenly along the twine.
- Hang across walls, windows, or mantels for a festive effect.
Materials Needed
- Green cardstock or felt
- Gold metallic cardstock or foil paper
- Scissors
- Twine or ribbon
- Hole punch
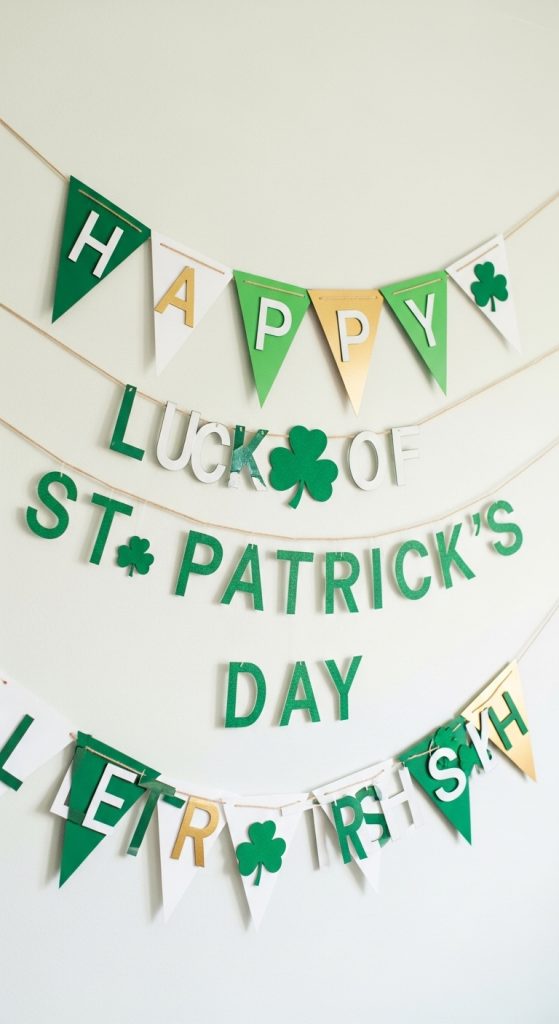
5. St. Patrick’s Day Letter Bunting
Introduction
Spell out festive messages with DIY letter bunting. Using cardstock, felt, or recycled paper, cut out letters to spell “Happy St. Patrick’s Day,” “Lucky,” or “Luck of the Irish.” Triangle or rectangular pennants can hold individual letters, creating a cohesive bunting that can be strung across walls, windows, or party tables.
Letter bunting is beginner-friendly and highly customizable. You can mix traditional green, gold, and white colors or add subtle patterns like polka dots or stripes. Layering letters with shamrocks or other small symbols on alternating pennants adds dimension and visual interest. Lightweight materials ensure the bunting hangs easily and stays secure, while DIY assembly keeps costs low.
Clear Explanation
Letter bunting communicates festive messages while combining with other DIY garlands for a cohesive, budget-friendly, Pinterest-worthy St. Patrick’s Day display.
Step-by-Step How-To
- Cut triangle or rectangle pennants from cardstock or felt.
- Cut letters from contrasting colored paper and glue onto pennants.
- Punch holes at top corners of each pennant.
- Thread twine through the holes to spell out the message.
- Optional: add small shamrock or gold coin embellishments between letters.
- Hang the bunting across walls, windows, or a party table.
Materials Needed
- Cardstock or felt for pennants
- Contrasting paper for letters
- Scissors
- Glue
- Twine or ribbon
- Optional: shamrocks or coin embellishments
6. Shamrock Tassel Garland
Introduction
Add texture and movement to your St. Patrick’s Day décor with a shamrock tassel garland. Combining paper or fabric shamrocks with colorful tassels instantly elevates a simple garland, creating a dynamic, Pinterest-worthy display. Tassels in green, white, and gold complement the shamrocks, while lightweight string or twine makes it easy to hang across a mantel, window, or party table.
This DIY is budget-friendly and beginner-friendly. Tassels can be made using tissue paper, yarn, or even recycled scrap fabric, keeping costs low while adding playful dimension. Alternating tassels and shamrocks on a single string creates a layered effect that is both modern and festive. Small gold accents, like glitter or metallic paper, can add subtle sparkle. This combination of shapes and textures gives your garland a professional, polished look without requiring expensive materials.
Clear Explanation
Shamrock tassel garlands combine traditional shapes with playful textures, adding movement, dimension, and a festive modern touch while staying budget-friendly.
Step-by-Step How-To
- Cut shamrocks from green cardstock or felt.
- Create small tassels from tissue paper, yarn, or fabric scraps.
- Punch holes at the top of each shamrock.
- Thread shamrocks and tassels alternately onto twine or ribbon.
- Space evenly for a balanced look.
- Hang across walls, mantels, or windows to complete the display.
Materials Needed
- Green cardstock or felt
- Tissue paper, yarn, or fabric scraps for tassels
- Twine or ribbon
- Scissors
- Hole punch
- Optional: glitter or metallic accents
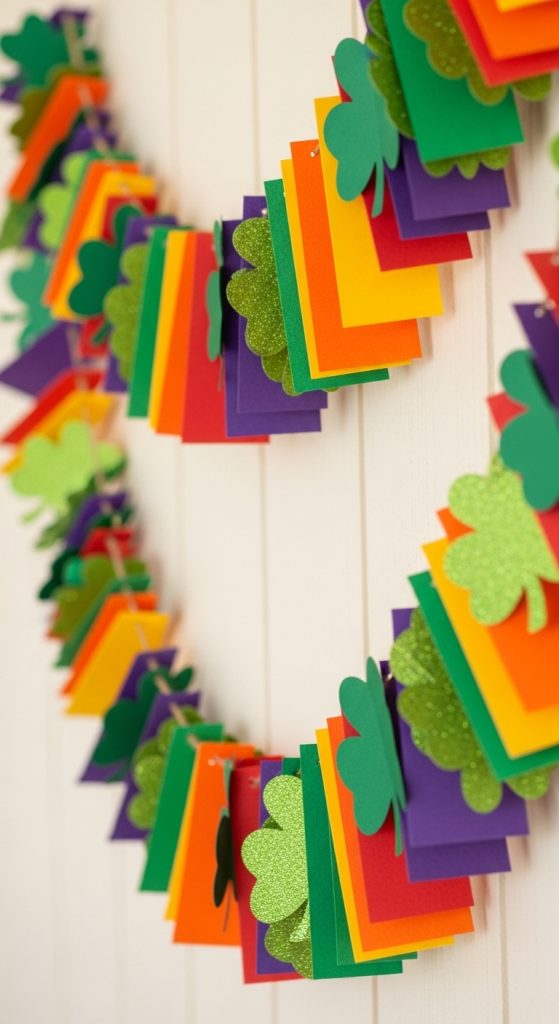
7. Rainbow and Shamrock Garland
Introduction
Bring the luck of the Irish and the magic of a rainbow into your décor with a rainbow-and-shamrock garland. This project alternates rainbow paper strips or triangles with shamrock cutouts, creating a playful, layered effect perfect for mantels, doorways, or party walls. Using bright rainbow tones with green accents keeps the design festive, cheerful, and Pinterest-ready.
This DIY is beginner-friendly and affordable, using simple paper, cardstock, or felt. Cutting small rainbow triangles or strips and pairing them with shamrocks creates a visually dynamic garland. Layering shapes at different heights along the twine adds dimension. Metallic gold accents, like small foil coins or glitter, add subtle sparkle. This garland is ideal for adding a cheerful focal point that embodies St. Patrick’s Day spirit while being cost-effective and easy to assemble.
Clear Explanation
Rainbow and shamrock garlands combine festive colors with traditional St. Patrick’s Day symbols, creating visually dynamic, budget-friendly décor that is perfect for Pinterest.
Step-by-Step How-To
- Cut rainbow triangles or strips from colored cardstock.
- Cut green shamrocks from cardstock or felt.
- Punch holes in the shapes for threading.
- Alternate rainbow shapes and shamrocks along twine or ribbon.
- Space evenly and add optional gold accents for sparkle.
- Hang across walls, windows, or tables.
Materials Needed
- Colored cardstock (rainbow tones)
- Green cardstock or felt
- Twine or ribbon
- Scissors
- Hole punch
- Optional: gold foil or glitter
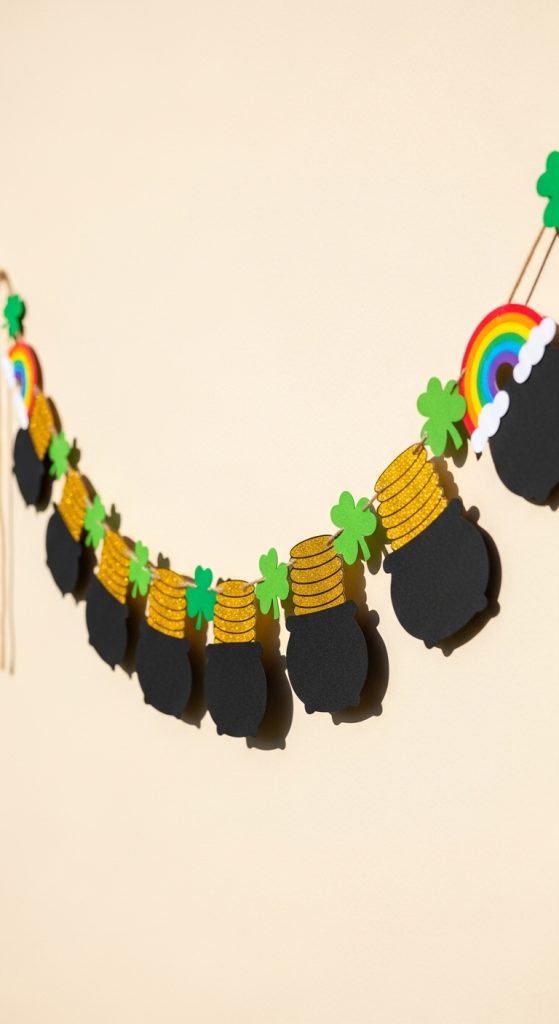
8. Mini Pot of Gold Garland
Introduction
Celebrate St. Patrick’s Day with a mini pot of gold garland. This whimsical garland features small black pot shapes topped with gold coin cutouts or metallic paper, linked together on twine. The combination of black, gold, and green creates a modern yet festive look, perfect for party decorations, shelves, or staircases.
This DIY project is beginner-friendly and budget-conscious. Small shapes are quick to cut, and using metallic cardstock or gold foil adds a touch of sparkle without significant cost. Alternating pots with shamrocks or rainbow triangles enhances the visual interest, creating a layered, Pinterest-worthy garland. Lightweight materials ensure easy hanging and versatility. This garland balances playful St. Patrick’s Day charm with modern design sensibilities, making it an ideal focal point in your décor.
Clear Explanation
Mini pot of gold garlands combine iconic St. Patrick’s Day symbols with budget-friendly materials, adding playful sparkle and charm to your home décor.
Step-by-Step How-To
- Cut small pot shapes from black cardstock or felt.
- Cut small gold coins from metallic cardstock or foil.
- Glue coins onto the top of each pot.
- Punch holes at the top of each shape.
- Thread shapes onto twine, alternating with shamrocks or rainbow shapes if desired.
- Hang across walls, mantels, or tables for a festive display.
Materials Needed
- Black cardstock or felt
- Gold metallic cardstock or foil
- Scissors
- Glue
- Twine or ribbon
- Hole punch
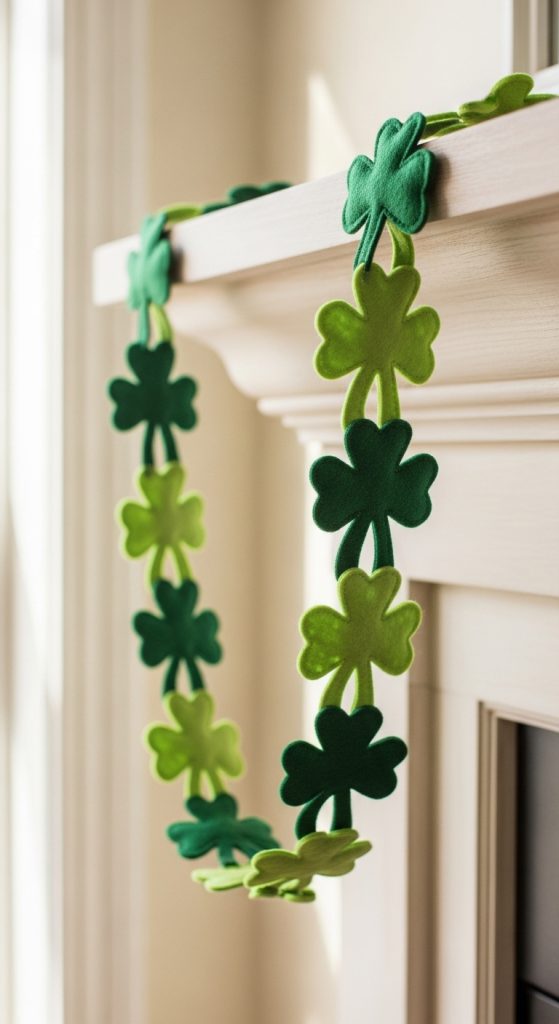
9. Felt Shamrock Chain Garland
Introduction
A felt shamrock chain garland is a cozy, tactile option for St. Patrick’s Day décor. Using green felt, you can cut multiple shamrocks and connect them directly to each other, creating a continuous chain. This garland adds dimension, softness, and a handcrafted feel to mantels, staircases, or doorways.
This DIY is inexpensive, beginner-friendly, and customizable in length. Felt is lightweight yet durable, making it ideal for repeated use year after year. Adding layered shamrocks or stitching metallic thread along the edges adds subtle sparkle. This type of garland is visually appealing for Pinterest because of the texture, vibrant green color, and handmade charm. Its flexible design allows you to drape it in curves, loops, or straight lines, making it perfect for any space.
Clear Explanation
Felt shamrock chain garlands provide texture, softness, and a cozy handmade aesthetic while remaining budget-friendly and beginner-friendly.

Step-by-Step How-To
- Cut multiple shamrocks from green felt.
- Use a needle and thread or glue to connect each shamrock edge-to-edge, forming a chain.
- Optional: add metallic thread or small glitter accents.
- Repeat until desired length is reached.
- Hang along walls, mantels, or banisters, draping naturally for effect.
Materials Needed
- Green felt
- Needle and thread or glue
- Scissors
- Optional: metallic thread or glitter
10. Ribbon and Shamrock Streamer Garland
Introduction
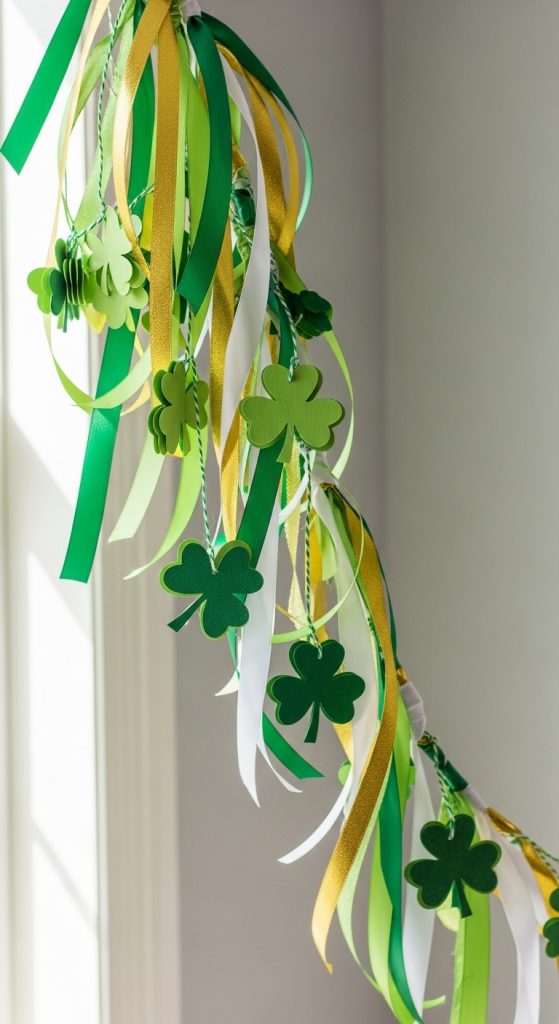
A ribbon-and-shamrock streamer garland combines flowing ribbons with small shamrocks for movement and texture. This garland is ideal for mantels, staircases, or party backdrops. Using green, gold, and white ribbons, you can create a layered effect while attaching shamrocks intermittently for festive charm.
This DIY is cost-effective and beginner-friendly. Ribbons add lightweight texture and length, while cardstock or felt shamrocks punctuate the design with traditional St. Patrick’s Day symbols. You can create loops, bows, or layered strands for a dynamic, Pinterest-worthy look. This type of garland also works well for parties or photo backdrops, making it versatile for celebrations.
Clear Explanation
Ribbon and shamrock garlands add flowing texture, playful movement, and modern festive charm while remaining budget-friendly and visually appealing.
Step-by-Step How-To
- Cut ribbons in desired lengths (green, gold, white).
- Cut small shamrocks from green cardstock or felt.
- Attach shamrocks to ribbons using glue or tape.
- Tie or twist ribbons onto a length of twine.
- Layer ribbons for volume and dimension.
- Hang garland across walls, mantels, or tables.
Materials Needed
- Green, gold, and white ribbons
- Green cardstock or felt
- Glue or tape
- Twine or string
- Scissors
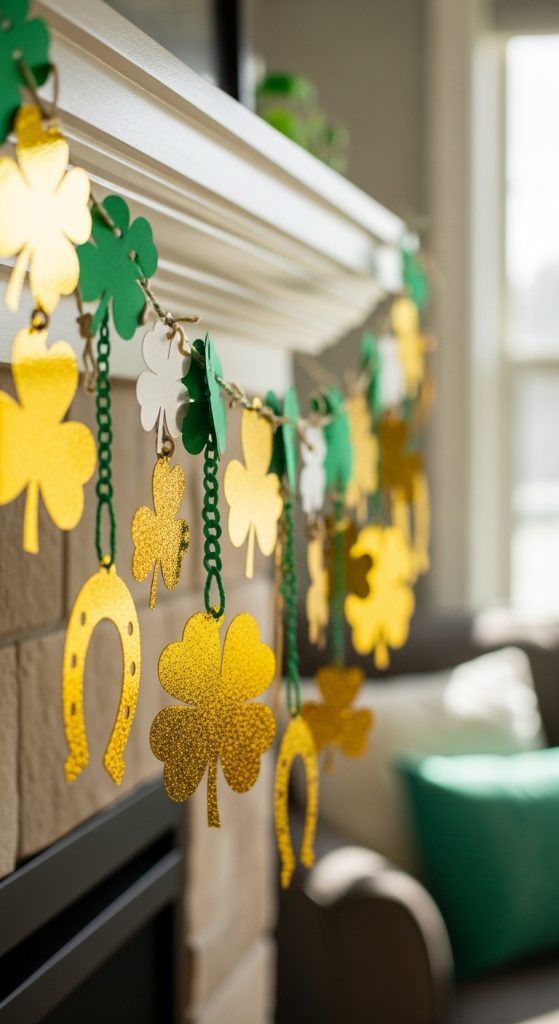
11. Gold Foil Lucky Charm Garland
Introduction
This garland is beginner-friendly and budget-conscious because metallic cardstock is inexpensive, and cutting simple shapes takes only minutes. Alternating symbols and spacing them evenly along the twine creates a balanced, professional-looking display. You can layer shapes at varying heights or add small green or white cardstock accents for additional dimension. The gold foil catches light beautifully, adding a dynamic, Pinterest-worthy sparkle to your St. Patrick’s Day décor without expensive materials or complex techniques.
Clear Explanation
A gold foil lucky charm garland is a modern, festive, and budget-friendly way to incorporate traditional St. Patrick’s Day symbols while adding sparkle and charm to your home décor.
Step-by-Step How-To
- Cut small lucky symbols (shamrocks, four-leaf clovers, horseshoes) from gold foil or metallic cardstock.
- Optional: add small green or white cardstock accents between symbols.
- Punch holes at the top of each shape.
- Thread shapes onto twine or ribbon, spacing evenly.
- Layer some symbols at different heights for dimension.
- Hang across mantels, staircases, windows, or party tables.
Materials Needed
- Gold foil or metallic cardstock
- Green or white cardstock (optional)
- Twine or ribbon
- Scissors
- Hole punch