Mornings before school are chaotic, and pretending otherwise is just lying to yourself. You’re rushing, you’re half-awake, and somehow you still expect your hair to look neat, cute, and stay that way the entire day. That expectation alone is where most people go wrong. The problem isn’t that you don’t know enough hairstyles—it’s that you keep choosing styles that don’t match your time, your hair type, or your daily routine.
Most “easy school hairstyles” you see online are unrealistic. They look good for five minutes in perfect lighting, but fall apart the moment you step outside, sit through classes, or deal with humidity, wind, or just normal movement. That’s why your hair looks fine in the morning mirror and completely different by midday. The issue is not effort—it’s poor strategy.
A hairstyle for school has to survive real conditions. You’re sitting, walking, tying your hair back again, maybe sweating, maybe dealing with frizz, maybe touching your hair constantly without realizing it. If your hairstyle cannot handle that, it’s not practical, no matter how cute it looks in pictures.
Another mistake is overcomplicating things. You don’t need ten tools, five products, and 30 minutes to look put together. In fact, the more complicated your routine, the more likely it is to fail when you’re short on time. School mornings demand efficiency. That means styles that are quick, repeatable, and don’t require perfection to look good.
Hair type also matters more than you think. A sleek ponytail that looks polished on straight hair might look bulky or uneven on thick or curly hair. Loose styles that work on soft waves might collapse completely on fine, flat hair. If you ignore your natural texture and try to copy something blindly, you’ll end up frustrated every single time.
What you actually need are hairstyles that are built for durability and simplicity. Styles that don’t fall apart by lunch. Styles that don’t require constant fixing in the school bathroom. And most importantly, styles that still look good even if they get slightly messy throughout the day—because that’s reality.
That’s exactly what you’re going to get here.
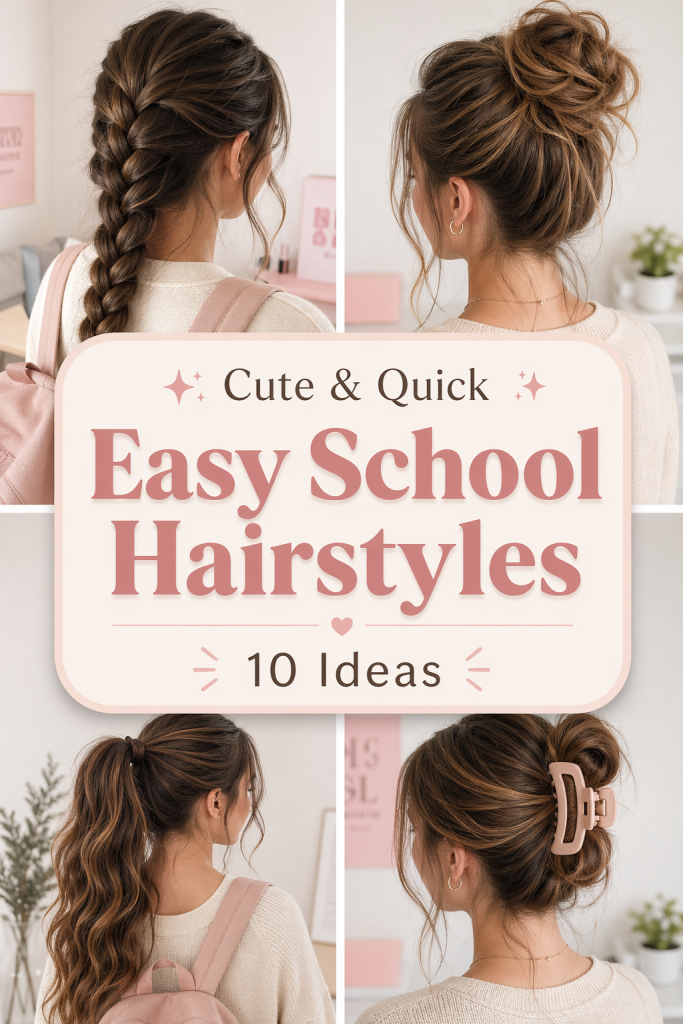
In this guide, you’ll find 10 easy hairstyles for school that actually stay cute all day, not just for photos. These are not random ideas thrown together to fill space. Each hairstyle is chosen because it works under real conditions—long hours, movement, different hair types, and limited time in the morning.
You’ll also understand why each hairstyle works, not just how to do it. Because once you understand that, you stop relying on copying and start making better decisions for your own hair. You’ll learn how to adjust styles depending on whether your hair is thick, fine, straight, or curly. You’ll also see how small changes—like how tight you tie your hair or where you place a section—can completely change how long a style lasts.
If you have a small room and get ready in a rush, these styles are designed for you. If you don’t have access to heat tools every morning, these will still work. If your hair tends to get frizzy or messy during the day, you’ll finally have options that don’t collapse halfway through.
By the end of this, you won’t just have “ideas.” You’ll have reliable go-to hairstyles that you can repeat without thinking and trust to hold up throughout your school day. Because looking cute is easy. Staying cute all day—that’s where most people fail.
Now it’s time to fix that.
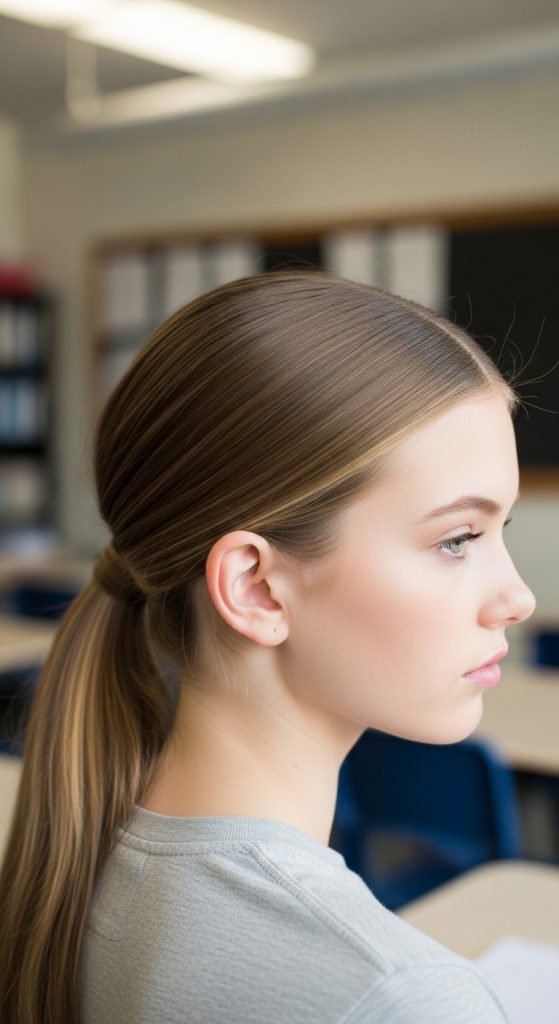
1. Low Sleek Ponytail (The “Always Works” Style)
This is the hairstyle people underestimate the most—and that’s exactly why most do it wrong. A low ponytail sounds basic, but when done properly, it becomes one of the most reliable, clean, and long-lasting school hairstyles you can wear. The difference between “lazy” and “polished” here comes down to small details most people ignore.
What it is
A low ponytail sits at the nape of your neck, but the 2026 version is not loose and messy. It’s controlled, slightly sleek at the top, with a smooth finish that holds shape all day. It’s designed to survive long hours without constant fixing.
This isn’t about making it tight and stiff. It’s about making it secure and balanced so it doesn’t sag, loosen, or turn messy after a few classes.
How to implement it (practical steps)
Start with dry or slightly damp hair. Brush your hair back gently, not aggressively—pulling too tight at the start creates bumps later.
- Create a clean middle or soft side part depending on your face shape
- Smooth the top section using a brush or your hands
- Gather hair at the nape of your neck (not too high, not too low)
- Secure with a strong elastic band (weak bands are why ponytails fall)
- Take a small section of hair and wrap it around the elastic to hide it
- Lightly smooth flyaways using a tiny amount of serum or water
If you have thick hair, divide it into two sections before tying to get better control. If your hair is fine, add a bit of texture spray before tying so it doesn’t slip.
Best for
- Straight, wavy, or slightly frizzy hair
- Medium to long lengths
- School days when you need something quick but neat
- Uniform or simple outfit days
This works best when you don’t have time to fix your hair later. It holds shape with minimal effort.
Pro tip
Tie your ponytail slightly tighter than feels comfortable at first. It will loosen naturally during the day. If you tie it “perfectly” in the morning, it will be too loose by midday.
Mistake to avoid
Do not leave the top too flat or too tight. Both look off. Slight natural volume at the crown makes it look balanced. Also avoid using weak elastics—they are the main reason ponytails collapse.
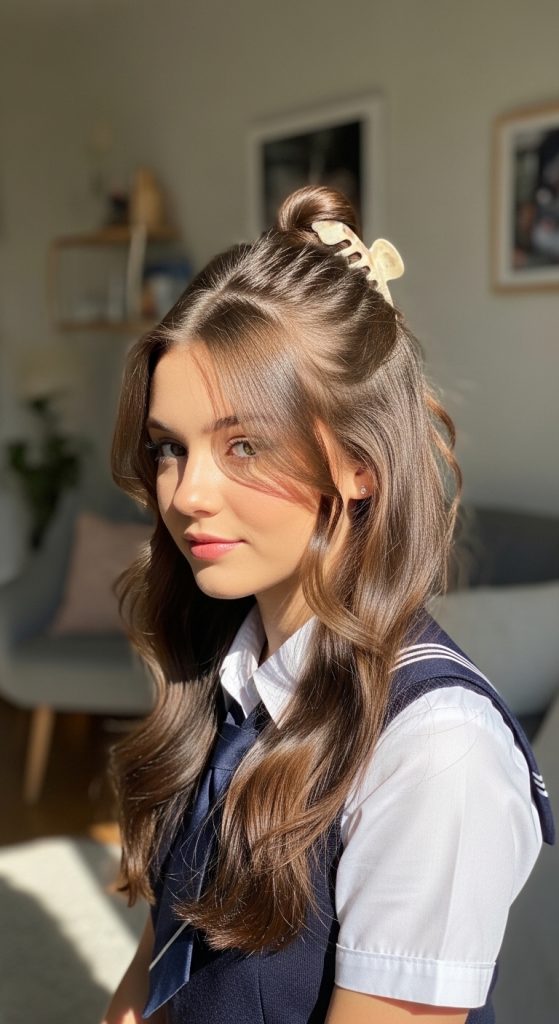
2. Half-Up Half-Down Clip Style (Effortless but Controlled)
This hairstyle looks soft and pretty, but if done carelessly, it falls apart quickly. The goal is not just to clip your hair randomly—it’s to create structure so the top stays in place while the rest flows naturally.
What it is
A half-up half-down hairstyle where the top section is secured using a claw clip or small hair tie. The modern version is not overly styled—it’s relaxed but intentional. It gives you the benefit of keeping hair away from your face while still showing length.
This is ideal when you don’t want a full tied-up hairstyle but also don’t want hair constantly falling forward.
How to implement it (practical steps)
Start by separating the top section of your hair—from temples to crown.
- Use your fingers (not a comb) to create a natural section
- Lightly tease or lift the crown area for volume
- Gather the top section and twist it slightly
- Secure with a claw clip or small elastic
- Adjust the front pieces so they frame your face softly
If you have straight hair, adding a slight wave to the bottom section improves the overall look. If you have curly or wavy hair, keep it natural—don’t over-style.
If your hair is very smooth, use a bit of dry shampoo or texture spray before clipping so it doesn’t slip.
Best for
- Medium to long hair
- Fine to medium hair textures
- Days when you want a soft, feminine look
- Students who dislike fully tied hairstyles
This works best when you want something that looks styled but doesn’t feel restrictive.
Pro tip
Don’t take too much hair in the top section. If you grab too much, the clip will lose grip and slide down during the day. Keep it balanced—enough to hold shape, not enough to weigh it down.
Mistake to avoid
Avoid placing the clip too low. That makes the hairstyle look flat and awkward. Also avoid perfectly clean sections—slight imperfection actually makes it look more natural and modern.
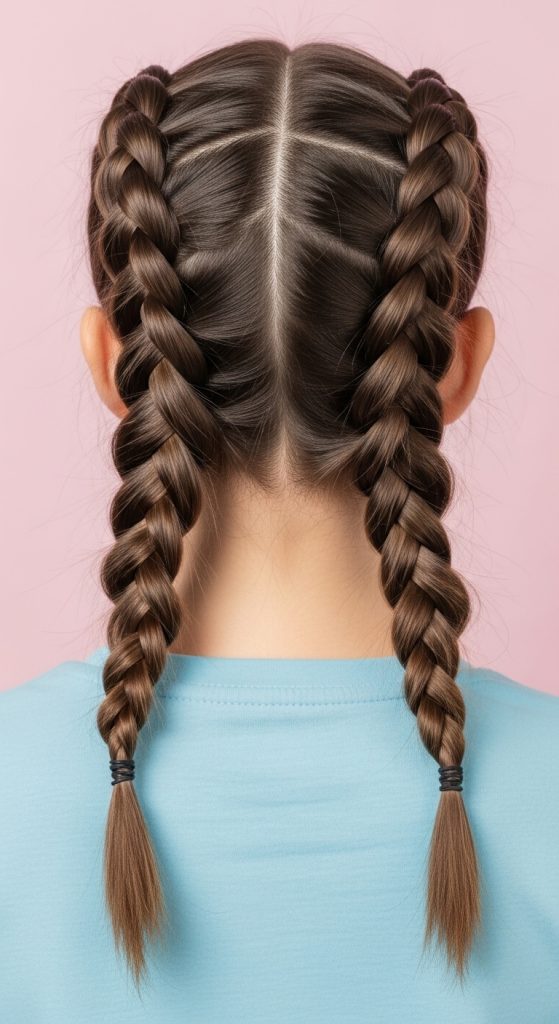
3. Double Braided Pigtails (Secure All-Day Style)
This is one of the most practical school hairstyles, but most people stop using it because they think it looks childish. That’s only true if it’s done without structure. The modern version is tighter, cleaner, and more balanced—making it both cute and functional.
What it is
Two braids on either side of the head, starting from the top or mid-section and continuing down to the ends. The purpose is not just style—it’s control. This hairstyle keeps your hair completely secure, making it ideal for long school days.
The updated version focuses on neat sections and balanced braids instead of loose, uneven ones.
How to implement it (practical steps)
Start by dividing your hair into two equal sections using a center part.
- Secure one side temporarily so sections don’t mix
- Take the first section and divide it into three equal strands
- Begin a regular braid (or French braid if you want tighter hold)
- Keep tension consistent—not too tight, not too loose
- Secure the end with a small elastic
- Repeat on the other side
If you have layers, apply a little water or leave-in conditioner before braiding to keep shorter pieces in place.
If your hair is thick, braids may feel heavy—so don’t start too high on the head. If your hair is fine, tighter braiding helps it last longer.
Best for
- Long hair
- Active school days (sports, long hours)
- Thick, wavy, or frizzy hair
- Situations where you don’t want to fix hair repeatedly
This works best when you need a hairstyle that stays exactly where you put it.
Pro tip
For a more modern look, gently pull out a few tiny face-framing strands after finishing the braids. It softens the style without ruining structure.
Mistake to avoid
Do not braid too loosely. Loose braids fall apart fast and look messy by midday. Also avoid uneven sectioning—it makes the entire style look unbalanced and rushed.
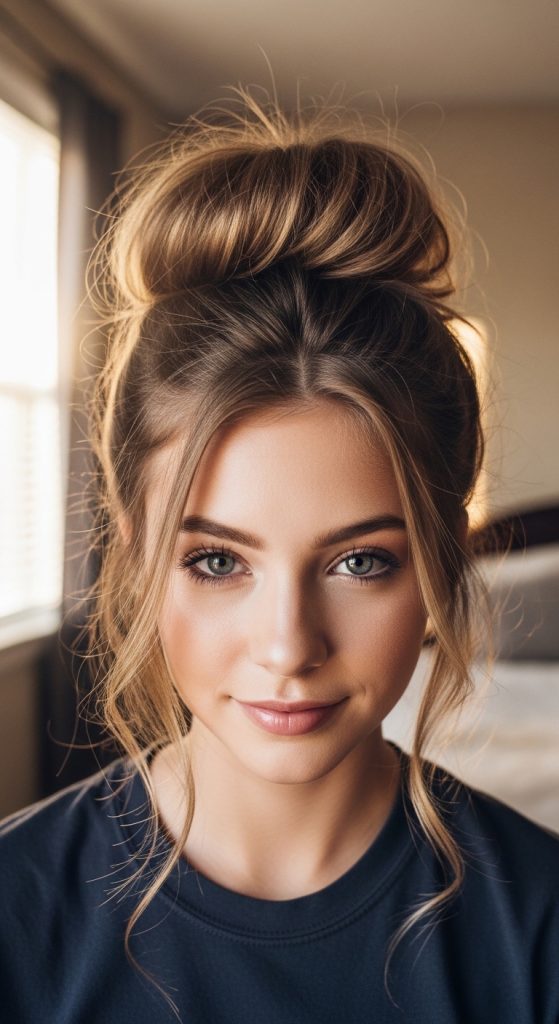
4. High Messy Bun (Controlled, Not Careless)
Most people think a messy bun means “no effort.” That’s exactly why theirs looks like it’s falling apart by mid-morning. A proper messy bun is controlled chaos—it looks relaxed, but it’s actually built to hold shape all day.
What it is
A high bun placed at the crown or slightly above, with soft volume and a few loose pieces for a natural look. The 2026 version avoids the stiff, over-sprayed bun and also avoids the completely loose, collapsing version. It sits right in the middle—structured enough to last, relaxed enough to look effortless.
This is one of the best styles when you want your hair completely out of your way but still want to look put together.
How to implement it (practical steps)
Start with second-day hair if possible. Freshly washed hair is too soft and slips easily.
- Flip your head slightly forward and gather hair into a high ponytail
- Secure it firmly with a strong elastic
- Twist the ponytail loosely (not tightly)
- Wrap it around the base to form a bun
- Secure with another elastic or a few pins
- Gently pull small sections around the bun to create volume
If your hair is fine, tease the ponytail slightly before twisting. If your hair is thick, don’t twist too tightly—it will become heavy and drop.
Best for
- Medium to long hair
- Busy mornings or late starts
- Hot weather or active school days
- Anyone who wants zero hair in their face
This works best when you need a style that stays up without constant fixing.
Pro tip
Anchor the bun with two bobby pins in an “X” shape at the base. This simple trick stops the bun from loosening throughout the day.
Mistake to avoid
Don’t make it too loose thinking it will look “effortless.” Loose buns collapse fast. Also avoid placing it too high or too tight—it can look unbalanced and uncomfortable after a few hours.
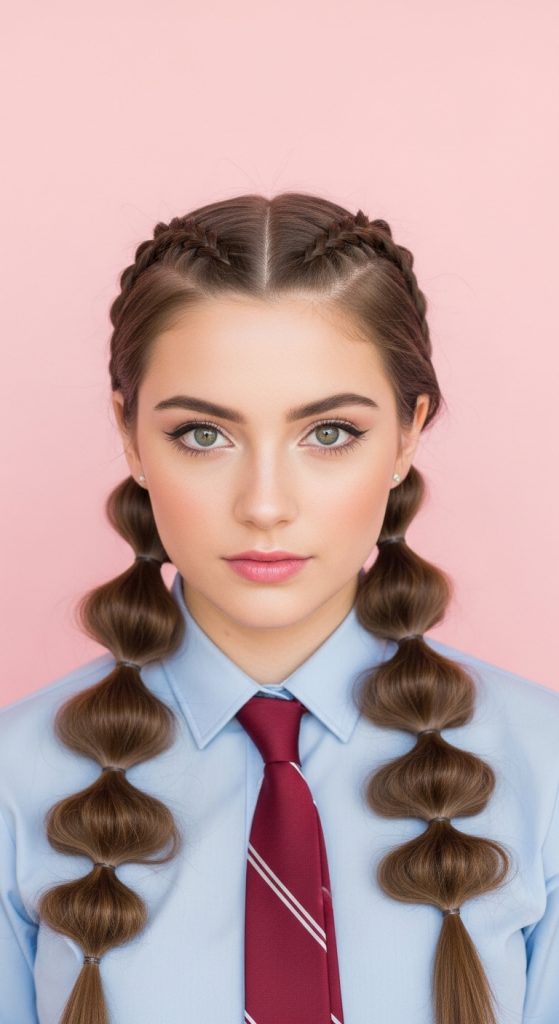
5. Bubble Ponytail (Stylish but Practical)
This is one of those styles that looks like you spent time on it—but in reality, it takes just a few extra minutes. The reason it works so well for school is because it distributes tension along the length of your hair instead of relying on one elastic.
What it is
A ponytail divided into multiple “bubble” sections using small elastics. Each section is gently pulled to create volume, giving a soft, rounded effect. It looks fun and trendy but also keeps hair controlled.
Unlike a regular ponytail that loosens from the base, this style stays secure because multiple sections hold it in place.

How to implement it (practical steps)
Start with a regular ponytail—mid or high depending on your preference.
- Secure the base ponytail firmly
- Add another elastic a few inches below the first
- Gently pull the section between elastics outward to create a “bubble”
- Repeat this process down the length of your hair
- Adjust each section so they look even and balanced
If your hair is layered, apply a bit of styling cream before starting to keep shorter pieces from sticking out.
If your hair is thin, keep bubbles smaller and closer together. If your hair is thick, you can make larger, more defined sections.
Best for
- Medium to long hair
- Straight or slightly wavy textures
- Days when you want something different but still easy
- School events or casual days
This works best when you want a hairstyle that stands out but doesn’t require constant attention.
Pro tip
Use clear or small elastics that match your hair color. Large or bright bands can make the style look less polished.
Mistake to avoid
Don’t pull the bubbles too much. Over-pulling makes them uneven and messy instead of soft and rounded. Also avoid spacing elastics randomly—uneven gaps ruin the overall look.
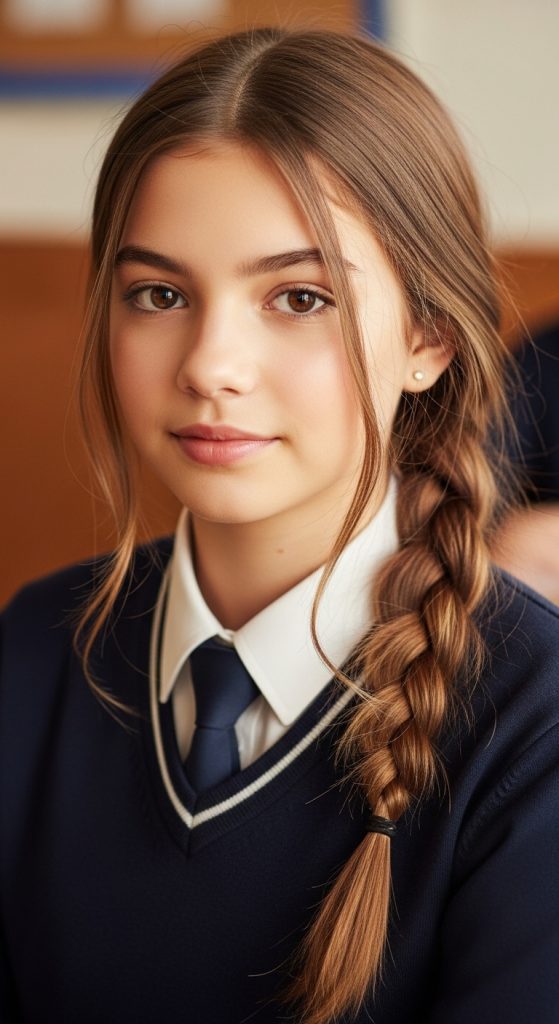
6. Side Braid (Simple but Long-Lasting)
This is one of the most underrated hairstyles for school. People overlook it because it seems too basic, but when done correctly, it’s one of the most reliable all-day styles—especially if your hair tends to get frizzy or tangled.
What it is
A single braid swept to one side of your head, usually starting near the shoulder and going down. The modern version is slightly softer and more natural—not extremely tight, but still secure enough to hold shape.
It gives a neat, feminine look while keeping your hair controlled and easy to manage.
How to implement it (practical steps)
Start by brushing your hair to one side.
- Gather all your hair over one shoulder
- Divide it into three equal sections
- Begin a regular braid, keeping tension consistent
- Secure the end with a small elastic
- Gently pull a few front strands loose for a softer look
If you want more hold, start the braid slightly higher (near ear level). If you want a relaxed look, start lower near the shoulder.
If your hair is very smooth, add a bit of texture spray before braiding so it doesn’t slip apart.
Best for
- Medium to long hair
- Wavy or slightly frizzy hair
- Calm school days or study-focused days
- Anyone who wants low-effort control
This works best when you don’t want to think about your hair after leaving home.
Pro tip
Tilt your head slightly while braiding. This helps keep the braid aligned naturally to one side instead of pulling unevenly.
Mistake to avoid
Do not braid too tightly—it creates tension and looks stiff. But also don’t go too loose, or it will fall apart by midday. Balance is what makes this style work.
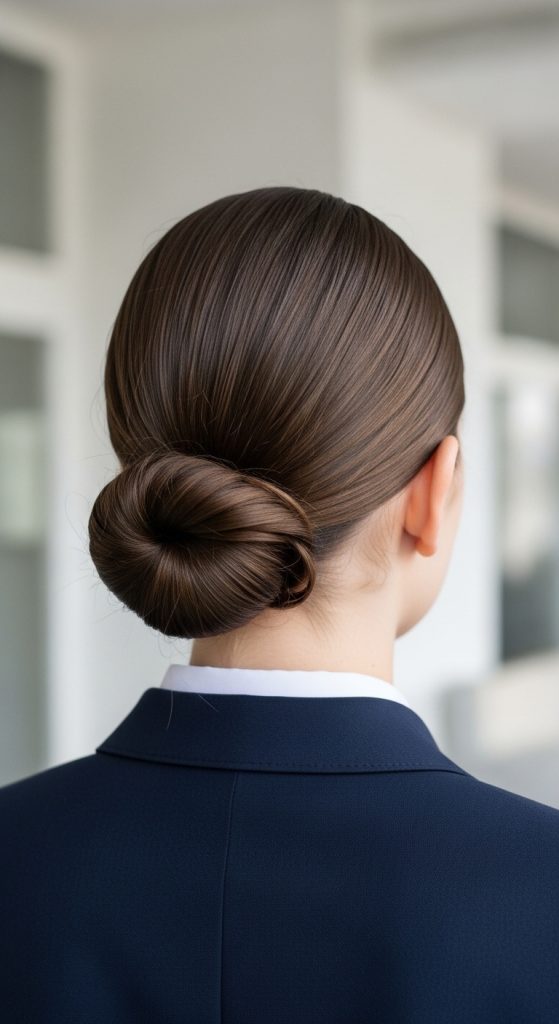
7. Twisted Low Bun (Clean and Secure Everyday Style)
This is what you choose when you’re done dealing with hair falling in your face every five minutes. It’s simple, controlled, and far more durable than it looks. Most people think buns are all the same—they’re not. A twisted low bun distributes tension better, which is why it actually survives a full school day.
What it is
A low bun created by twisting sections of hair instead of wrapping everything randomly. It sits at the nape and looks neat from every angle. The twist adds structure, which keeps the bun from loosening too quickly.
It’s not flashy, but it’s one of the most dependable styles you can rely on when your schedule is long and you don’t have time to fix your hair.
How to implement it (practical steps)
Start with brushed, tangle-free hair.
- Create a low ponytail at the nape of your neck
- Divide the ponytail into two equal sections
- Twist both sections individually
- Wrap them around each other, then coil into a bun
- Secure with an elastic and 2–3 bobby pins
- Lightly adjust for balance, not looseness
If your hair is thick, use more pins for support. If your hair is fine, avoid over-twisting—it can make the bun look too small.
Best for
- Medium to long hair
- School days with long hours
- Hot or humid weather
- Anyone who wants a neat, no-fuss look
This works best when you need your hair completely out of the way without looking messy.
Pro tip
Spray a little water or apply a tiny amount of leave-in conditioner before twisting. It helps control flyaways and makes the bun look smoother without heavy products.
Mistake to avoid
Don’t twist too loosely. Loose twists cause the bun to fall apart quickly. Also avoid placing it too low on the neck—it should sit at the natural nape, not below it.
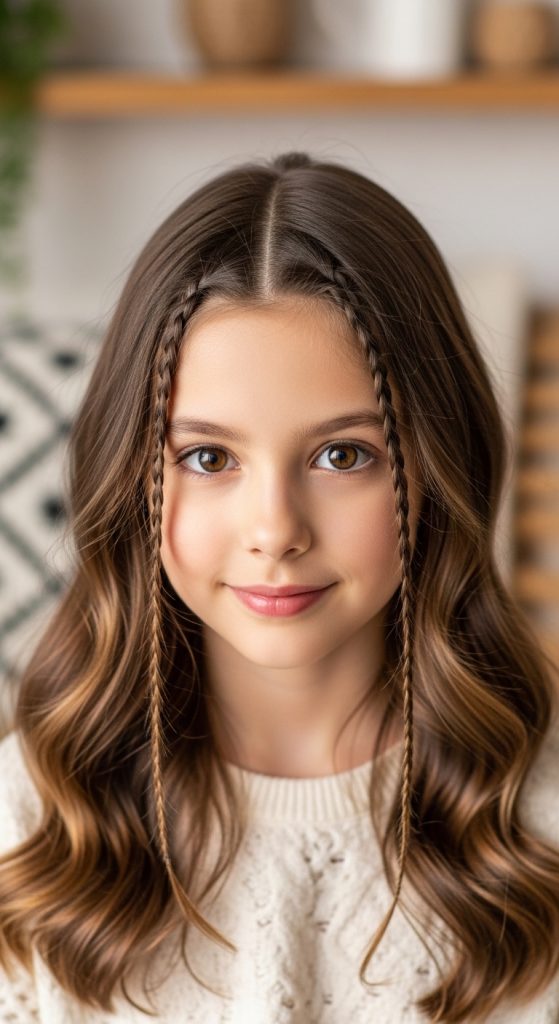
8. Mini Front Braids with Open Hair (Balanced Cute Style)
If you like leaving your hair open but hate it constantly falling into your face, this is your solution. It keeps the front controlled while letting the rest of your hair stay natural.
What it is
Two small braids taken from the front sections of your hair and secured back, while the rest of the hair remains open. It adds detail without requiring full styling.
The modern version is subtle—not thick, not overly styled. Just enough to frame your face and control front strands.
How to implement it (practical steps)
Start with your hair down, brushed or lightly styled.
- Take a small section from one side near your temple
- Create a simple braid and secure it with a tiny elastic
- Repeat on the other side
- Pull both braids slightly backward and pin them behind your head (or leave them hanging)
- Adjust front pieces so they frame your face softly
If your hair is straight, adding slight waves improves the overall look. If your hair is naturally textured, keep it as is.
If your hair is very fine, use small pins instead of elastics for a cleaner finish.
Best for
- Medium to long hair
- Straight, wavy, or lightly curly textures
- Casual school days
- Anyone who prefers open hair but wants control
This works best when you want something cute without tying all your hair up.
Pro tip
Keep the front braids thin. Thick braids make the style look heavy and outdated. Thin braids keep it modern and clean.
Mistake to avoid
Don’t pull the braids too tight at the front. It creates tension and ruins the soft look. Also avoid uneven sections—it makes the style look rushed and unbalanced.
9. Low Bubble Braids (Secure with Style)
This is a variation of the bubble ponytail but more controlled and slightly more structured. It’s ideal when you want something playful but still practical enough to last all day without falling apart.
What it is
Instead of a single ponytail, the hair is divided into two sections (like pigtails), and each section is turned into a bubble-style braid using multiple elastics. It keeps everything in place while adding shape and volume.
This style works especially well if your hair tends to tangle or puff up during the day.
How to implement it (practical steps)
Start by parting your hair down the middle.
- Create two low ponytails (one on each side)
- Secure each with a strong elastic
- Add additional elastics every few inches down each ponytail
- Gently pull each section outward to create bubble shapes
- Adjust both sides so they look even and balanced
If your hair is layered, smooth it slightly with water or leave-in conditioner before starting.
If your hair is thick, space elastics further apart. If it’s fine, keep them closer for better hold.
Best for
- Medium to long hair
- Active or long school days
- Thick, wavy, or frizzy hair
- Anyone who wants a fun but secure style
This works best when you want something different from basic braids but just as reliable.
Pro tip
Use small, strong elastics instead of loose ones. Weak elastics stretch during the day and ruin the structure of the bubbles.
Mistake to avoid
Don’t make uneven sections between elastics. It makes the whole style look messy instead of intentional. Also avoid over-pulling the bubbles—it can make them look frizzy instead of smooth.
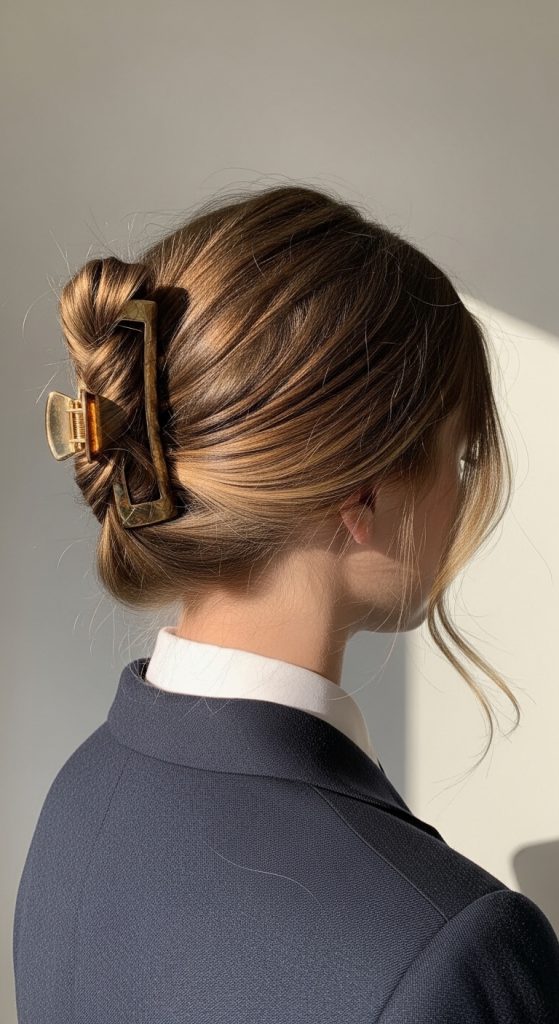
10. Quick Claw Clip Twist (Fastest Clean Look)
If you’re constantly running late but still want to look put together, this is the hairstyle you should be using instead of struggling with complicated styles that never last. It takes less than a minute when done right, but most people do it loosely—then complain when it falls apart.
What it is
A simple twist-and-clip hairstyle where the hair is gathered, twisted upward, and secured with a claw clip. The modern version is cleaner and more balanced—not the loose, half-falling twist you see people doing casually.
It keeps your hair off your neck and face while still looking soft and effortless.
How to implement it (practical steps)
Start with brushed or slightly textured hair.
- Gather all your hair at the back like a low ponytail
- Twist the length upward toward your head
- Fold the remaining ends downward or tuck them inside
- Secure everything firmly with a medium or large claw clip
- Adjust the top slightly for natural volume
If your hair is very long, fold it twice before clipping. If your hair is short or medium, a smaller clip will hold better.
If your hair is silky or very smooth, add a bit of texture spray before twisting so it doesn’t slip.
Best for
- Medium to long hair
- Straight, wavy, or slightly frizzy textures
- Extremely busy mornings
- Anyone who wants a no-effort but neat look
This works best when you need something fast that still looks intentional.
Pro tip
Use a high-quality claw clip with a strong grip. Cheap clips are the main reason this style fails—they don’t hold tension properly and slide down within hours.
Mistake to avoid
Don’t twist too loosely. A loose twist won’t stay secure and will fall apart quickly. Also avoid placing the clip too low—it should sit mid-back of the head for proper balance and hold.