
Building a giant castle in Minecraft is more than just placing blocks—it’s about creating a majestic, immersive environment that captures the imagination. Castles are iconic structures in Minecraft, combining aesthetics, strategy, and functionality. From towering turrets to protective moats, each element can be customized to reflect your personal style, medieval inspiration, or fantasy vision. Whether you’re aiming for a realistic medieval fortress or a whimsical fantasy palace, a giant castle build offers endless possibilities for creativity and design experimentation.
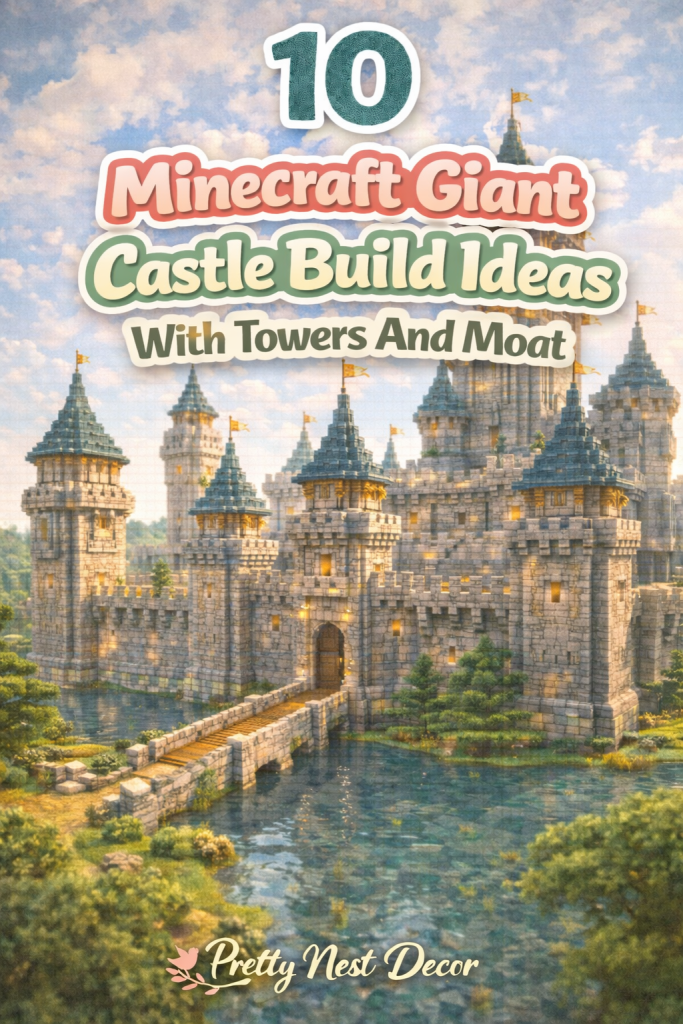
A castle build in Minecraft is an ambitious project that combines structural planning, material selection, and intricate detailing. Key features of a castle often include:
- Grand towers and turrets: For visual height, defensive design, and aesthetic appeal.
- Stone walls and battlements: Adding realism and medieval authenticity.
- A moat or water barrier: For strategic defense and dramatic visual impact.
- Drawbridges, gates, and portcullises: Enhancing functional design and storytelling.
- Courtyards and interior spaces: Room for gardens, fountains, halls, and living quarters.
The moat is an essential element in any castle build. A water-filled trench surrounding your walls not only adds a layer of realism but also dramatically enhances the visual appeal, especially from aerial or scenic viewpoints. When combined with bridges, towers, and surrounding landscape, a moat transforms a castle from a simple structure into a fully immersive fortress that feels alive in your Minecraft world.
Towers are equally important. Whether cylindrical, square, or octagonal, towers serve as lookout points, defensive posts, or aesthetic accents. Placing towers at corners, along walls, or at the main gate creates height variation and symmetry, making your castle look imposing and impressive. Interior spaces within towers can house staircases, storage rooms, or enchanting chambers, turning them into functional elements beyond decoration.
Material selection plays a crucial role in castle building. Using combinations of stone bricks, cobblestone, mossy stone, and wood accents provides texture, contrast, and realism. Strategically mixing blocks with slightly different shades prevents your castle from looking flat and monotonous. Adding details like crenellations, arrow slits, banners, and torches brings life and authenticity to the structure. Lighting both inside and outside the castle creates ambiance and security, preventing hostile mobs from spawning while enhancing visual depth.
Planning your castle layout is essential before you start building. Consider the scale and footprint of your castle: the number of towers, width of walls, size of the central keep, and placement of the moat. A well-planned foundation ensures your castle is balanced, functional, and visually impressive. Incorporating stairs, walkways, bridges, and interior rooms provides structure and guides exploration, making your castle engaging for players to navigate.
Adding landscape and environmental elements elevates your castle build. Surrounding hills, rivers, forests, or cliffs enhance realism and create a dramatic backdrop for your fortress. Pathways leading to the castle, bridges crossing the moat, and gardens or courtyards inside walls add depth and immersive charm. Using complementary blocks for pathways, such as cobblestone, gravel, or coarse dirt, makes your castle feel integrated into the environment rather than floating in isolation.
Castle builds also allow for creative storytelling. Will your fortress serve as a medieval stronghold, a wizard’s tower, or a fantasy kingdom’s palace? Adding thematic decorations—like stained glass windows, banners with your emblem, or enchanted interiors—tells a story beyond the structural design. Functional areas, such as armories, kitchens, libraries, or throne rooms, transform the castle into a living, breathing environment within Minecraft.
This article will explore detailed ideas for creating a giant Minecraft castle with towers and a moat. Each idea includes:
- A clear concept explanation
- Step-by-step building guidance
- A materials list for easy replication
- Tips for beginners and intermediate builders
- Suggestions for Pinterest-worthy visuals and inspiration
The first 10 ideas focus on castle foundations, tower designs, wall layouts, and moat construction, giving you the structural backbone for an epic fortress. The next 10 ideas will focus on interior rooms, decorative details, bridges, landscaping, and functional features, completing a fully immersive and visually striking castle.
Whether you’re building in survival mode, creative mode, or multiplayer servers, these ideas will inspire your next monumental project. From grand medieval keeps to fantastical towers with flowing moats, your castle can reflect your unique style while teaching key principles of Minecraft building, including proportions, symmetry, layering, and decorative accents.
By following these detailed steps and tips, you’ll be able to construct a Pinterest-worthy Minecraft castle that’s not only visually stunning but also functional and immersive. Whether your goal is a massive stronghold for adventure gameplay or a beautiful fantasy palace for storytelling and screenshots, this guide will provide the inspiration, guidance, and practical tips to make your castle project both achievable and impressive.
1. Corner Towers with Varied Heights
Introduction
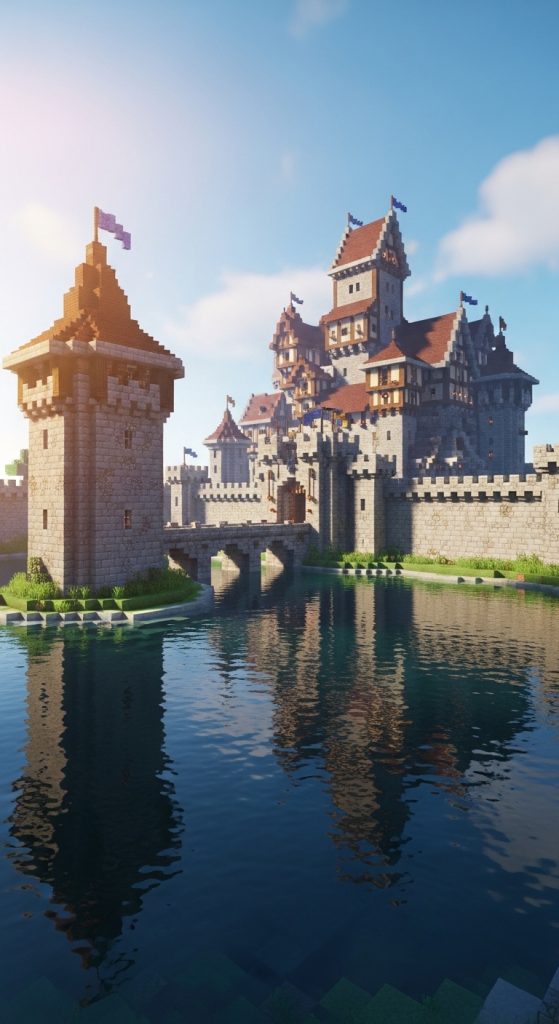
Corner towers are the backbone of any giant castle in Minecraft. Placing towers at each corner of your fortress adds both visual symmetry and defensive functionality, instantly making your castle look grand and imposing. Varied tower heights — some tall for lookout purposes and some shorter for aesthetic balance — create dynamic skyline effects, which are crucial for a Pinterest-worthy castle design.
These towers can be cylindrical, square, or octagonal depending on the overall style. Using different stone textures, such as stone bricks, cobblestone, and mossy variants, gives the towers depth and realism. Adding battlements, arrow slits, and wooden platforms enhances the medieval look while providing functional spaces for gameplay. A moat surrounding the towers reflects light and adds an extra layer of visual and defensive charm.
Corner towers also serve as vertical connection points for walls and walkways, linking all sections of the castle seamlessly. Internally, they can house spiral staircases leading to upper floors or small observation rooms. Layering textures and creating height variation ensures that the towers don’t look flat or monotonous, giving your castle a majestic, storybook appearance that’s both practical and visually striking.
How To Create This Look
- Decide the footprint of your castle and mark the corners.
- Build towers using stone bricks, cobblestone, and mossy stone.
- Vary tower heights for visual interest (e.g., one tall lookout, one medium height).
- Add battlements, arrow slits, and wooden balcony platforms.
- Connect towers with walls at the desired height.
- Optionally, dig a moat around the towers for visual and defensive effect.
Materials Needed
• Stone bricks
• Cobblestone and mossy cobblestone
• Wooden planks for platforms
• Ladders or stair blocks for internal access
• Optional water or decorative blocks for moat
2. Central Keep with Elevated Entrance
Introduction
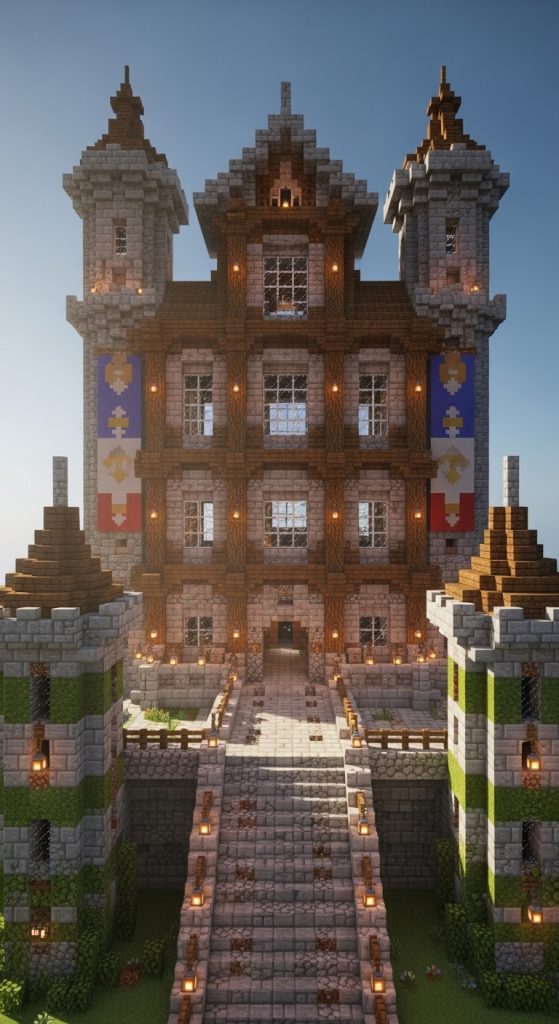
The central keep is the heart of your castle, towering above walls and towers. An elevated entrance adds dramatic flair and strengthens the medieval aesthetic. This focal point establishes your castle as a monumental structure, giving it the commanding presence seen in iconic Minecraft builds.
The keep can be rectangular, square, or L-shaped, with multiple floors connected via internal staircases. Stone bricks, cobblestone, and mossy textures ensure a rustic medieval look. Adding large windows, banners, and torch placements enhances both detail and functionality. Positioning the keep near the center of the castle grounds allows surrounding towers and walls to frame it naturally, creating a cohesive structure.
Elevated entrances can be accessed via stone staircases or drawbridges, enhancing both gameplay and visual depth. Layered height and textures, combined with decorative towers and a moat, create a Pinterest-ready castle that’s visually balanced, functional, and majestic.
How To Create This Look
- Choose a central location and plan the keep’s dimensions.
- Construct walls with stone bricks, cobblestone, and mossy stone.
- Add multiple floors using stone slabs or planks.
- Build an elevated entrance using stairs or a drawbridge.
- Incorporate windows, balconies, and banners for detail.
- Ensure the keep integrates with surrounding towers and walls.
Materials Needed
• Stone bricks and cobblestone
• Mossy cobblestone
• Stone slabs or wooden planks for floors
• Wooden stairs or drawbridge blocks
• Banners, torches, and glass panes
3. Moat with Drawbridge Access
Introduction
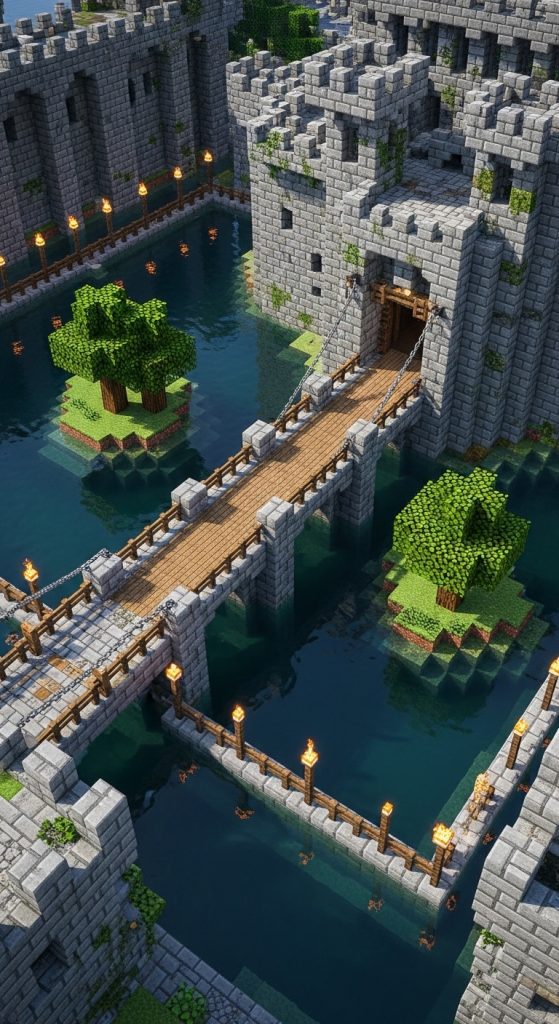
A water-filled moat is a classic castle feature that combines defensive strategy with aesthetic impact. Surrounding the castle with a moat enhances realism and creates dramatic Pinterest-worthy visuals, especially when paired with bridges and towers. A drawbridge adds functionality, allowing players to cross while maintaining a fortress-like appearance.
The moat can vary in width and depth, depending on the scale of your castle. Adding stone walls along the edges or lily pads for natural detail creates a layered, realistic effect. The drawbridge can be a simple wooden structure or a more complex mechanism with redstone, depending on your play style.
In addition to defense, the moat provides reflective water surfaces that enhance lighting, textures, and overall depth. You can incorporate islands or small garden areas within the moat for additional points of interest. This combination of water, bridges, and surrounding towers ensures your Minecraft castle is both functional and visually impressive.
How To Create This Look
- Dig a trench around your castle footprint for the moat.
- Fill it with water blocks, ensuring even depth.
- Add stone edging or decorative lily pads for texture.
- Build a wooden drawbridge connecting the entrance to the surrounding land.
- Optional: include small islands or garden areas within the moat.
- Add torches or lanterns around the moat for nighttime visual impact.
Materials Needed
• Water blocks
• Stone bricks or cobblestone for edging
• Wooden planks or slabs for drawbridge
• Torches or lanterns
• Optional lily pads or garden blocks
4. Corner Towers with Spiral Staircases
Introduction
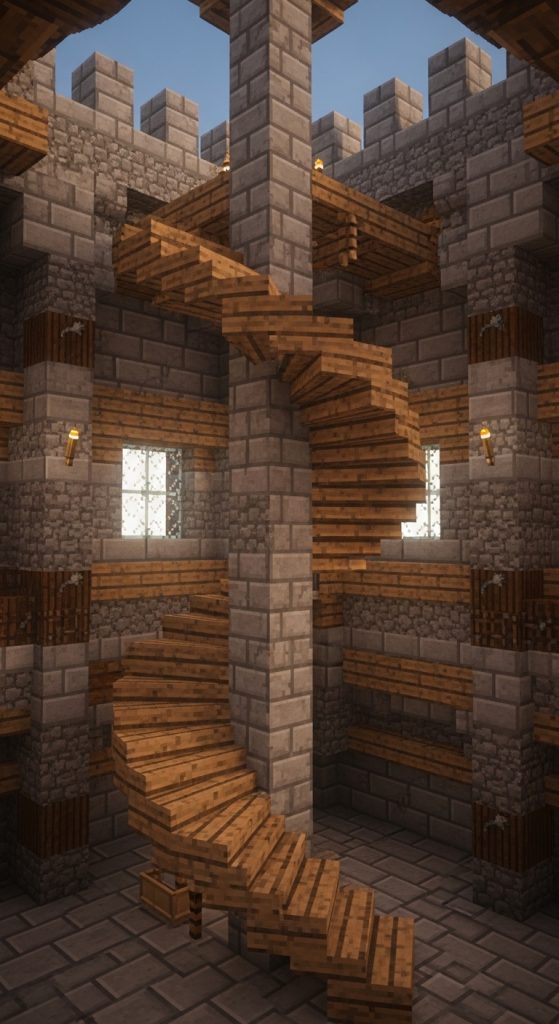
Adding spiral staircases inside corner towers enhances both function and aesthetics. Players can ascend to observation decks, archer platforms, or decorative balconies. Spiral stairs maximize vertical space without taking up too much room, perfect for large towers in a giant castle.
You can combine stone bricks and wood for a visually layered staircase. Stone walls provide durability, while wooden steps create warmth and contrast. Spiral staircases allow players to move seamlessly between levels, encouraging exploration while maintaining structural authenticity. The elevated platforms can serve as lookout points, guard stations, or decorative spaces for banners and lanterns.
By integrating spiral stairs with battlements and windows, corner towers become highly functional and visually striking. The layered effect of textures, light, and height variation ensures your Minecraft castle looks epic from every angle, making it Pinterest-ready and immersive.
How To Create This Look
- Plan spiral staircase dimensions inside each tower.
- Build central support pillars with stone bricks.
- Place wooden steps spiraling around the pillar.
- Add railings or wall detailing for safety and aesthetics.
- Connect the top to battlements or platform levels.
- Decorate with banners, torches, or small potted plants for visual interest.
Materials Needed
• Stone bricks for tower walls and central pillar
• Wooden planks for spiral steps
• Torches or lanterns
• Optional banners or decorative blocks
5. Wall Walkways with Crenellations
Introduction
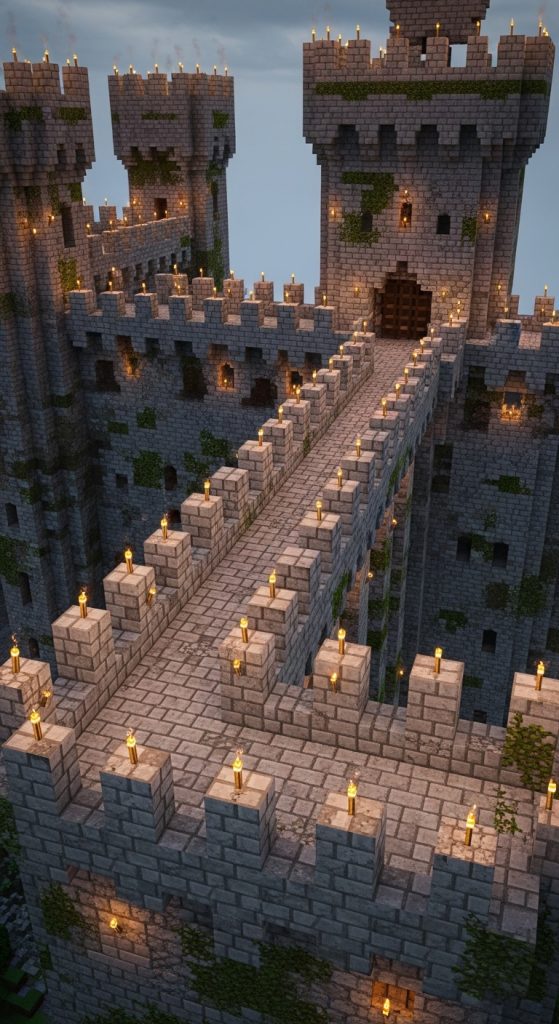
A walkable wall with crenellations is an essential feature of a giant Minecraft castle. Walkways connect towers and keep areas, providing both functional access and a visually impressive defensive perimeter. Crenellations — alternating gaps along the wall — create authentic medieval detailing while allowing players to look out or shoot arrows in survival gameplay.
Walkways can be made from stone slabs or planks, with railings or low walls for safety. Adding torches or lanterns along the wall enhances ambiance while preventing hostile mob spawns. Wall walkways also provide elevated vantage points, connecting towers, the central keep, and corner structures seamlessly.
Layered stone textures, moss accents, and varying wall heights give a realistic, lived-in feel. The combination of walkable walls, battlements, and towers creates a visually dynamic and immersive castle, perfect for photography, survival gameplay, or creative displays.
How To Create This Look
- Build walls connecting towers using stone bricks and cobblestone.
- Construct walkways using slabs or planks atop the walls.
- Add crenellations with alternating block gaps along the wall edges.
- Place torches or lanterns for lighting.
- Add mossy stone or detail blocks to create texture.
- Ensure walkways connect towers, keeps, and other sections.
Materials Needed
• Stone bricks and cobblestone
• Stone slabs or wooden planks for walkways
• Torches or lanterns
• Optional mossy stone or decorative blocks
6. Gatehouse with Functional Drawbridge
Introduction
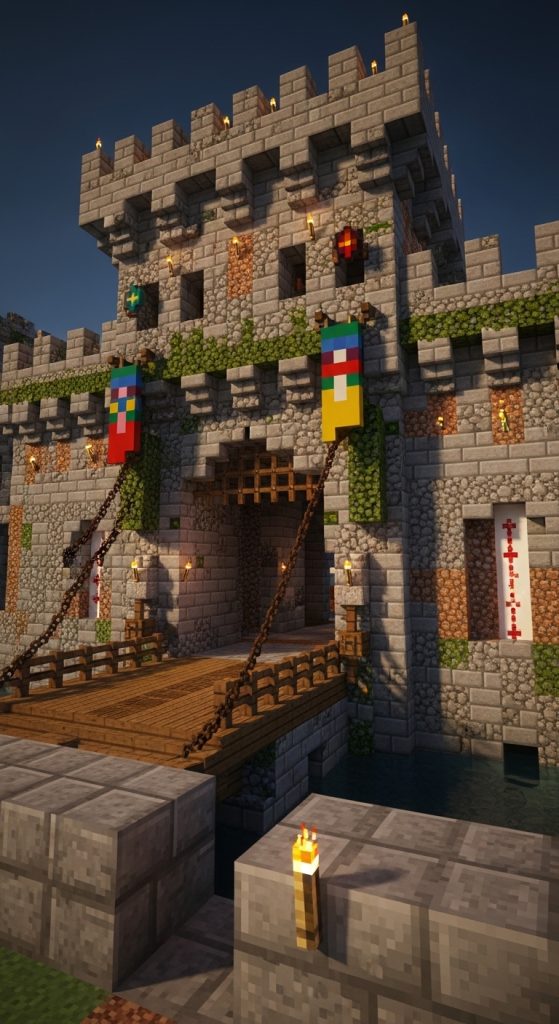
A gatehouse with a functional drawbridge is one of the most iconic features of a medieval-style Minecraft castle. It serves as the main entrance, blending aesthetic appeal with gameplay functionality. The drawbridge can be simple for creative mode or mechanized with redstone for survival mode, allowing players to raise and lower it at will.
Gatehouses can be rectangular or L-shaped, integrated with corner towers and walls for a fortified look. Adding battlements, arrow slits, or wooden portcullises enhances the defensive realism while providing a dramatic visual focal point. The drawbridge spans your moat, creating a seamless connection between the castle and surrounding terrain.
Styling the gatehouse with stone textures, mossy accents, lanterns, and banners ensures it blends perfectly with the rest of the castle. Small decorative details, like vines climbing the walls or flower pots near the entrance, add a lived-in, Pinterest-worthy effect. Internally, the gatehouse can house storage, guard rooms, or staircases leading to towers, making it both functional and visually striking.
How To Create This Look
- Plan the gatehouse width and height aligned with your castle walls.
- Construct walls using stone bricks, cobblestone, and mossy stone.
- Add battlements and arrow slits along the top.
- Build a wooden drawbridge spanning the moat; optionally connect with redstone mechanisms.
- Place banners, torches, or lanterns for decoration.
- Optionally, add internal rooms or staircases for functionality.
Materials Needed
• Stone bricks, cobblestone, mossy stone
• Wooden planks or slabs for drawbridge
• Redstone and pistons (optional)
• Torches, lanterns, banners
• Optional vines or decorative plants
7. Inner Courtyard with Garden and Fountain
Introduction
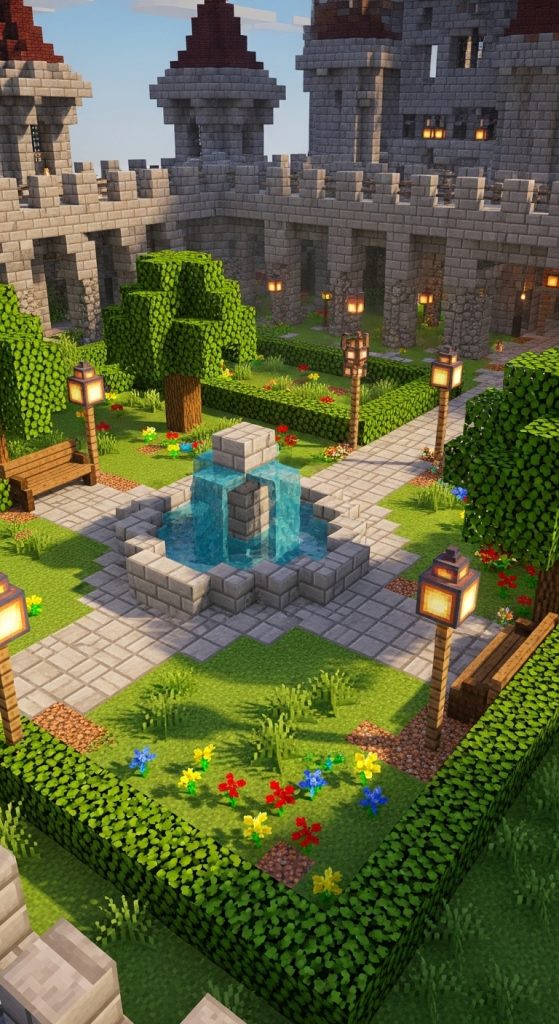
An inner courtyard provides a tranquil space within your giant castle, offering a break from stone walls and towering towers. Including a garden with pathways and a central fountain adds realism, aesthetic charm, and visual depth. Courtyards can feature grass, flowerbeds, shrubs, or hedges, creating layered textures that contrast with the stone structures around them.
The fountain can be simple, built from stone bricks with water flowing into a basin, or more elaborate with tiered levels and decorative statues. Courtyards also provide functional gameplay space for gatherings, crafting areas, or outdoor seating. Adding benches, small trees, lanterns, or statues elevates the visual appeal.
Incorporating a courtyard ensures the castle doesn’t feel flat or monotonous. Combining open space, natural elements, and decorative details creates a Pinterest-worthy composition that feels alive and inviting. The courtyard can also connect towers, the keep, and walls with pathways or stone slabs, allowing easy navigation and layered design.
How To Create This Look
- Plan the courtyard area inside the castle walls.
- Create a fountain using stone bricks or slabs; add flowing water.
- Surround the fountain with grass, flowers, or hedges.
- Add stone pathways connecting towers and the keep.
- Place benches, lanterns, or statues for decoration.
- Optional: add small trees or seasonal plants for realism.
Materials Needed
• Stone bricks or slabs for fountain and pathways
• Grass blocks, flowers, and shrubs
• Water blocks
• Wooden benches, lanterns, statues
• Optional trees or decorative plants
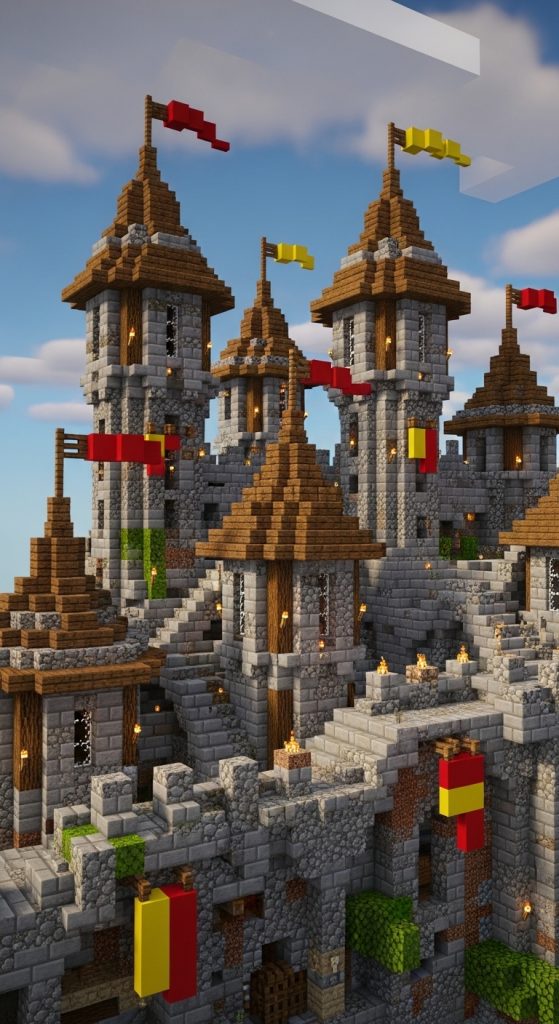
8. Turrets with Conical Roofs
Introduction
Turrets with conical roofs add vertical emphasis and visual flair to your castle. These small towers, often positioned along walls or near gates, give a storybook, fantasy feel, while complementing corner towers and the central keep. Roofs can be crafted using stone slabs, stairs, or colored blocks to create a steep, sloped design.
Turrets can serve as lookout points or decorative accents. Adding small windows or arrow slits enhances authenticity. They can also connect to walkways or internal staircases, offering elevated vantage points for gameplay. By varying turret height and shape, you create a visually dynamic skyline, essential for epic Minecraft castle screenshots and Pinterest-style inspiration.
Decorative touches like banners, vines, or lanterns hanging from the roof give the turret a lived-in, medieval look. Integrating turrets with towers, walls, and moats ensures a cohesive and immersive castle design. This combination of height, detail, and texture ensures your castle looks majestic from every angle.
How To Create This Look
- Decide turret locations along walls or near gates.
- Build the base using stone bricks or cobblestone.
- Construct the conical roof with stone slabs or stairs, optionally colored.
- Add windows or arrow slits for detail.
- Connect turrets to walkways or towers.
- Decorate with banners, torches, or vines.
Materials Needed
• Stone bricks, cobblestone
• Stone slabs or stairs (for roof)
• Glass panes or blocks for windows
• Torches or lanterns
• Banners, optional vines or plants
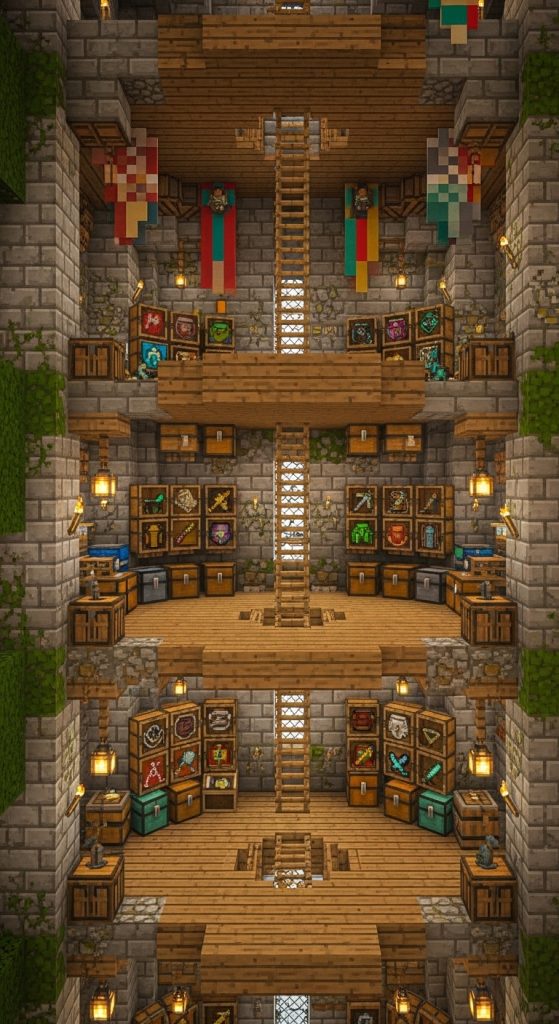
9. Armory and Storage Towers
Introduction
Armory and storage towers are both functional and visually compelling additions to a giant castle. These towers house weapons, armor, crafting tables, and chests, making your fortress fully playable and interactive. They can be located near the central keep or along walls for easy access.
Using a combination of stone textures for exterior walls and wooden floors or platforms inside adds authenticity. Shelves, barrels, and chests store equipment while maintaining a rustic medieval look. Torches, banners, and iron bars enhance detail and contribute to the fortress aesthetic. Storage towers also break the monotony of stone walls and battlements, adding vertical points of interest and functional gameplay areas.
Decorating towers with arrow slits, battlements, or rooftop platforms allows them to double as defensive posts. Integrating them with walkways ensures smooth navigation, while creative layouts make each tower unique. This blend of practicality and aesthetic detail makes your castle both beautiful and playable.
How To Create This Look
- Build a tower using stone bricks, cobblestone, and mossy variants.
- Create multiple floors with wooden platforms or slabs.
- Place chests, barrels, and crafting stations inside for storage.
- Add ladders or staircases for internal access.
- Decorate exterior with battlements, arrow slits, banners, and torches.
- Connect towers with walls and walkways.
Materials Needed
• Stone bricks, cobblestone, mossy stone
• Wooden slabs or planks for floors
• Ladders, chests, barrels, crafting stations
• Torches, banners, iron bars
• Optional decorative blocks for realism
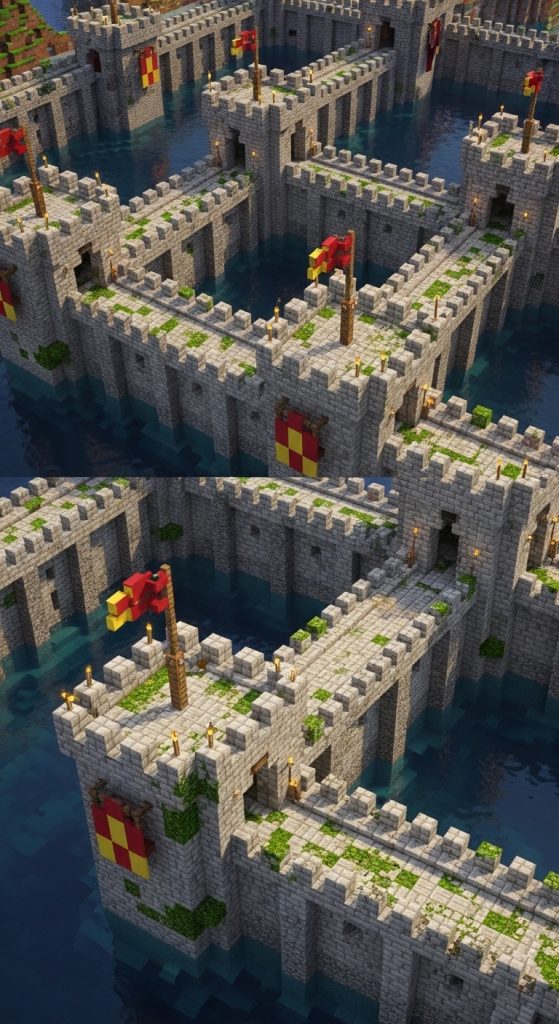
10. Outer Walls with Defensive Towers
Introduction
The outer walls are the first line of defense and play a major role in establishing scale and grandeur. Integrating defensive towers along the walls ensures both functionality and visual interest. Towers at intervals along the walls provide elevated points for observation or archery, while crenellations and battlements enhance realism.
Using stone textures like cobblestone, stone bricks, and mossy variants adds depth and authenticity. Wall thickness and height can vary to create visual interest and support moats or drawbridges. Walkways along the wall tops allow players to move between towers, creating a connected and navigable castle layout.
Decorative touches such as torches, banners, and vines ensure the walls are visually layered and engaging. A moat surrounding the outer walls enhances defense and provides dramatic reflective surfaces for photography or gameplay screenshots. This combination of vertical towers, layered textures, and connected walkways makes the castle visually impressive, functional, and fully Pinterest-worthy.
How To Create This Look
- Outline the castle perimeter and build walls using stone bricks, cobblestone, and mossy variants.
- Construct towers at regular intervals along the walls.
- Add crenellations and battlements along the top.
- Build walkways connecting towers and gatehouses.
- Decorate with banners, torches, and vines.
- Optionally, integrate with moat and drawbridge for full effect.
Materials Needed
• Stone bricks, cobblestone, mossy stone
• Wooden planks or slabs for walkways
• Torches, banners, vines
• Optional moat water blocks